Serverless JSON Web Token Authentication on Amazon Web Services
Serverless App with JWT Authentication
The folks at AWS say you can create a serverless and scalable webap using DynamoDB, Lambda, API Gateway, and S3. Let’s try it.
The Database
Creating some tables in DynamoDB is pretty straight forward. You get to pick your primary key with the option for a secondary key. Scans over those fields are indexed and will be fast.
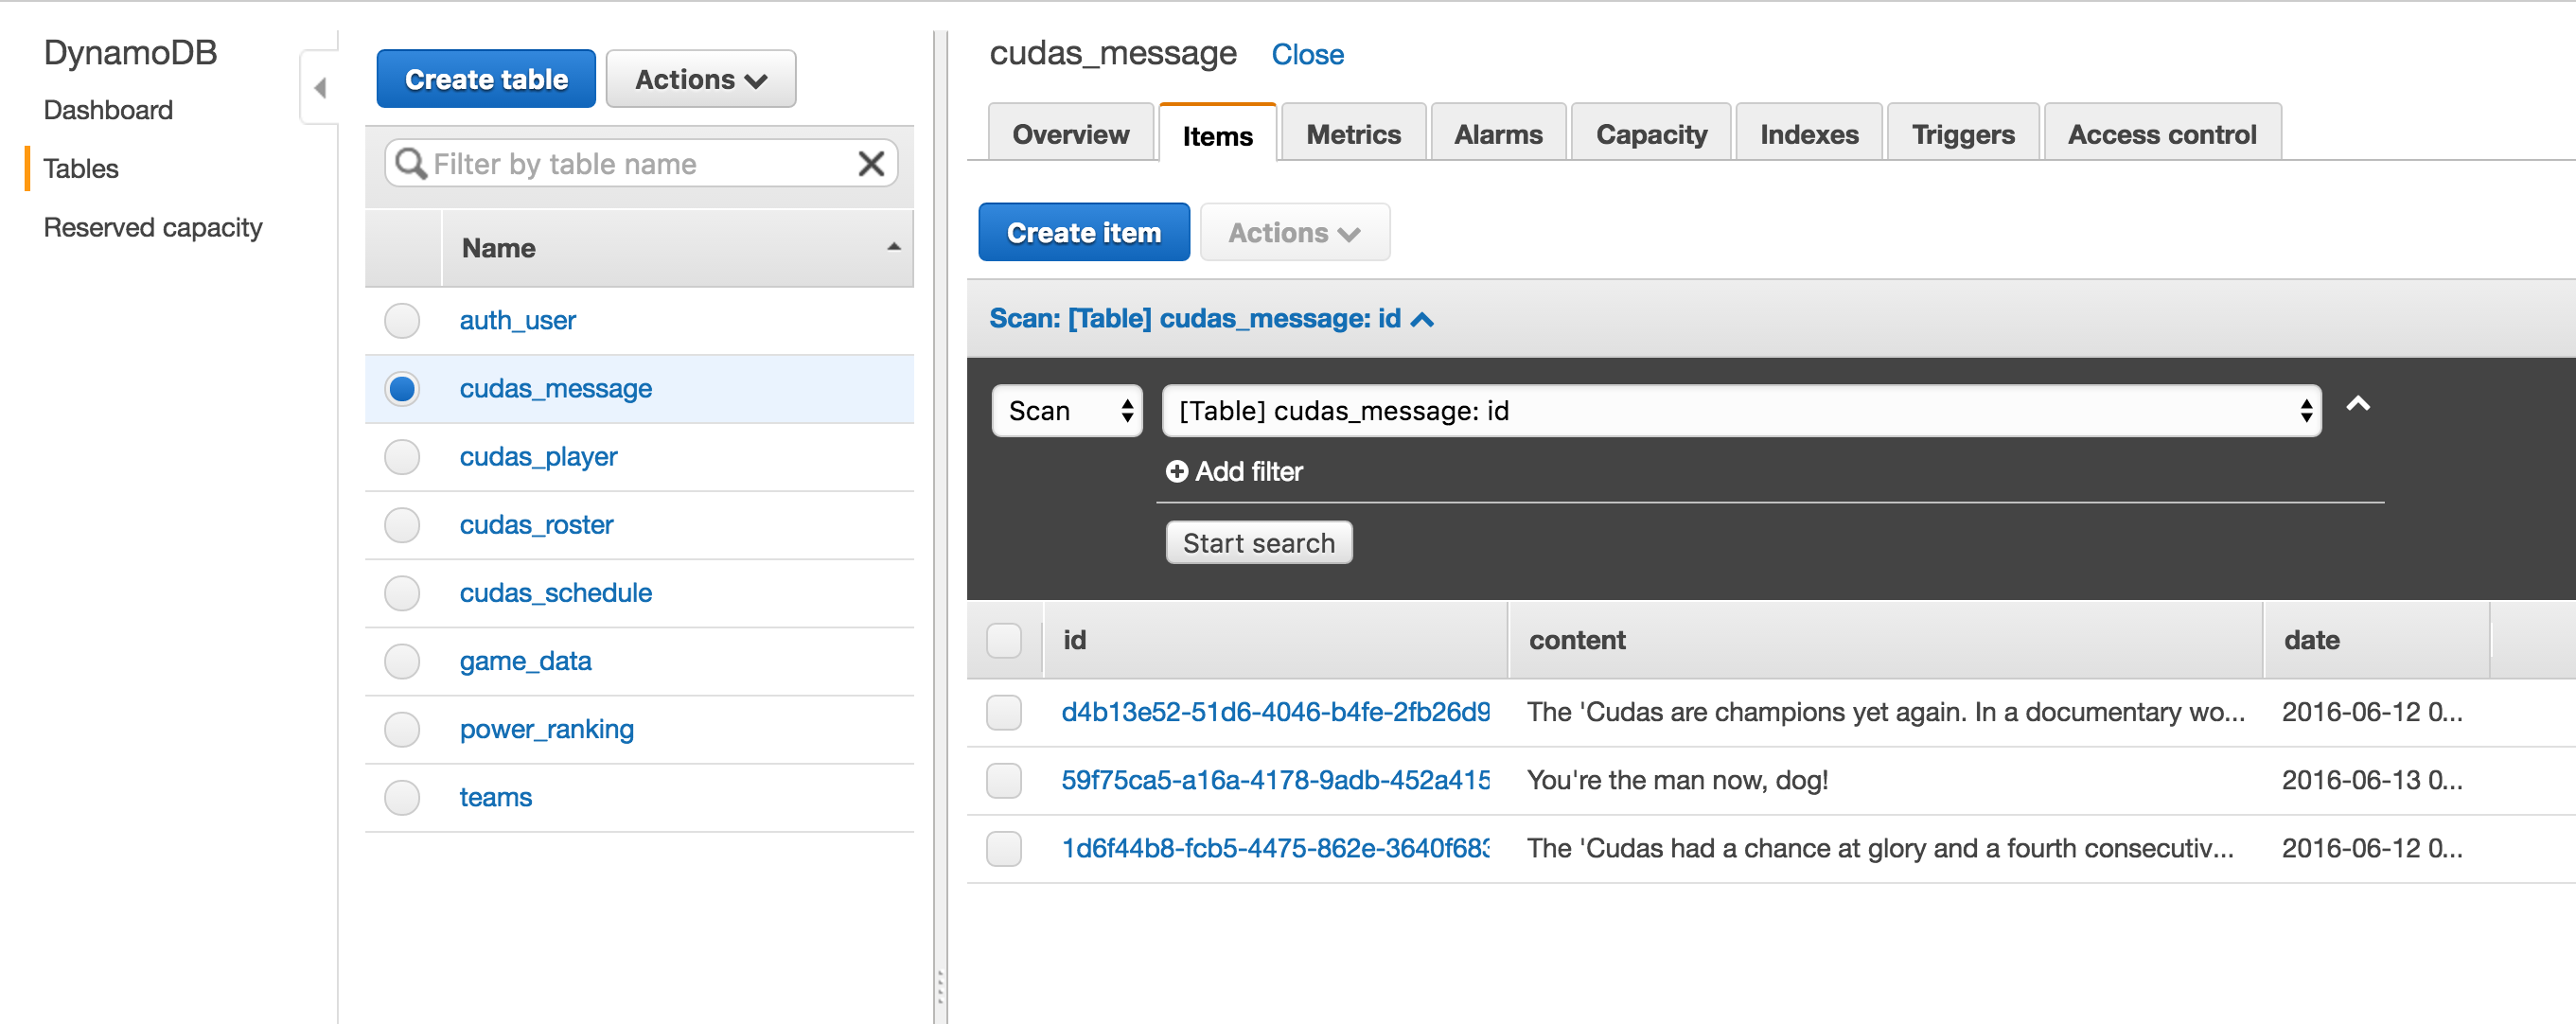 You can put any JSON formatted object into DynamoDB as long as it has your primary key (and your secondary key if you choose to use one).

The Code
The “serverless” code runs on AWS Lambda. Lambda allows a developer to upload an artifact as a lambda function. When the function is called, a virtual machine boots up and runs the code. I chose Python as my language, but Node.js and Java are also available. From what I am told, Python is the fastest to boot up and Java is the slowest.
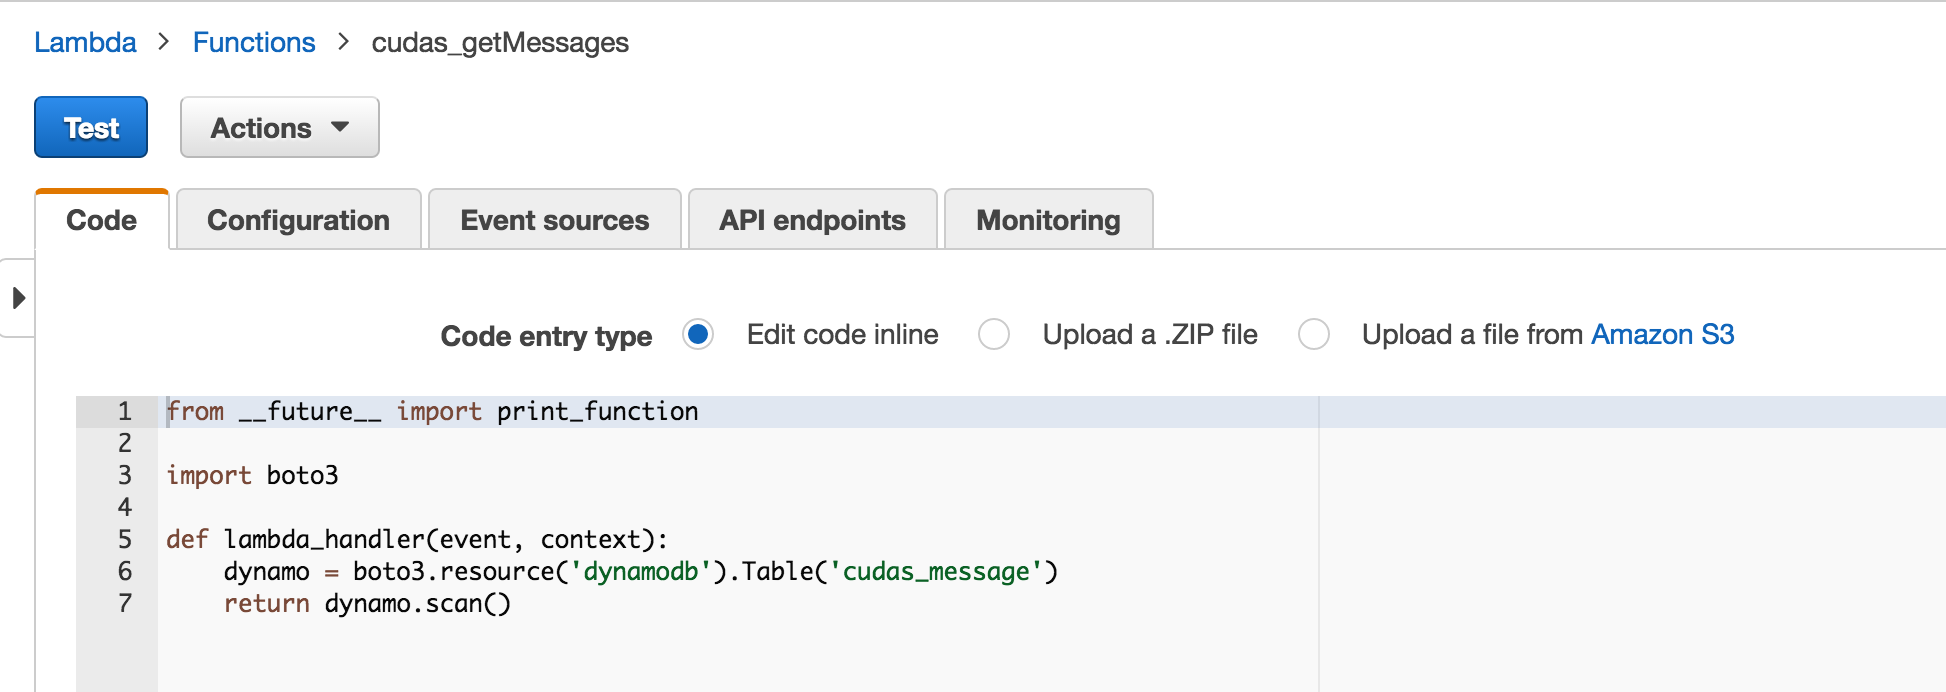 Very simple lambda functions can be written inline using the AWS gui.
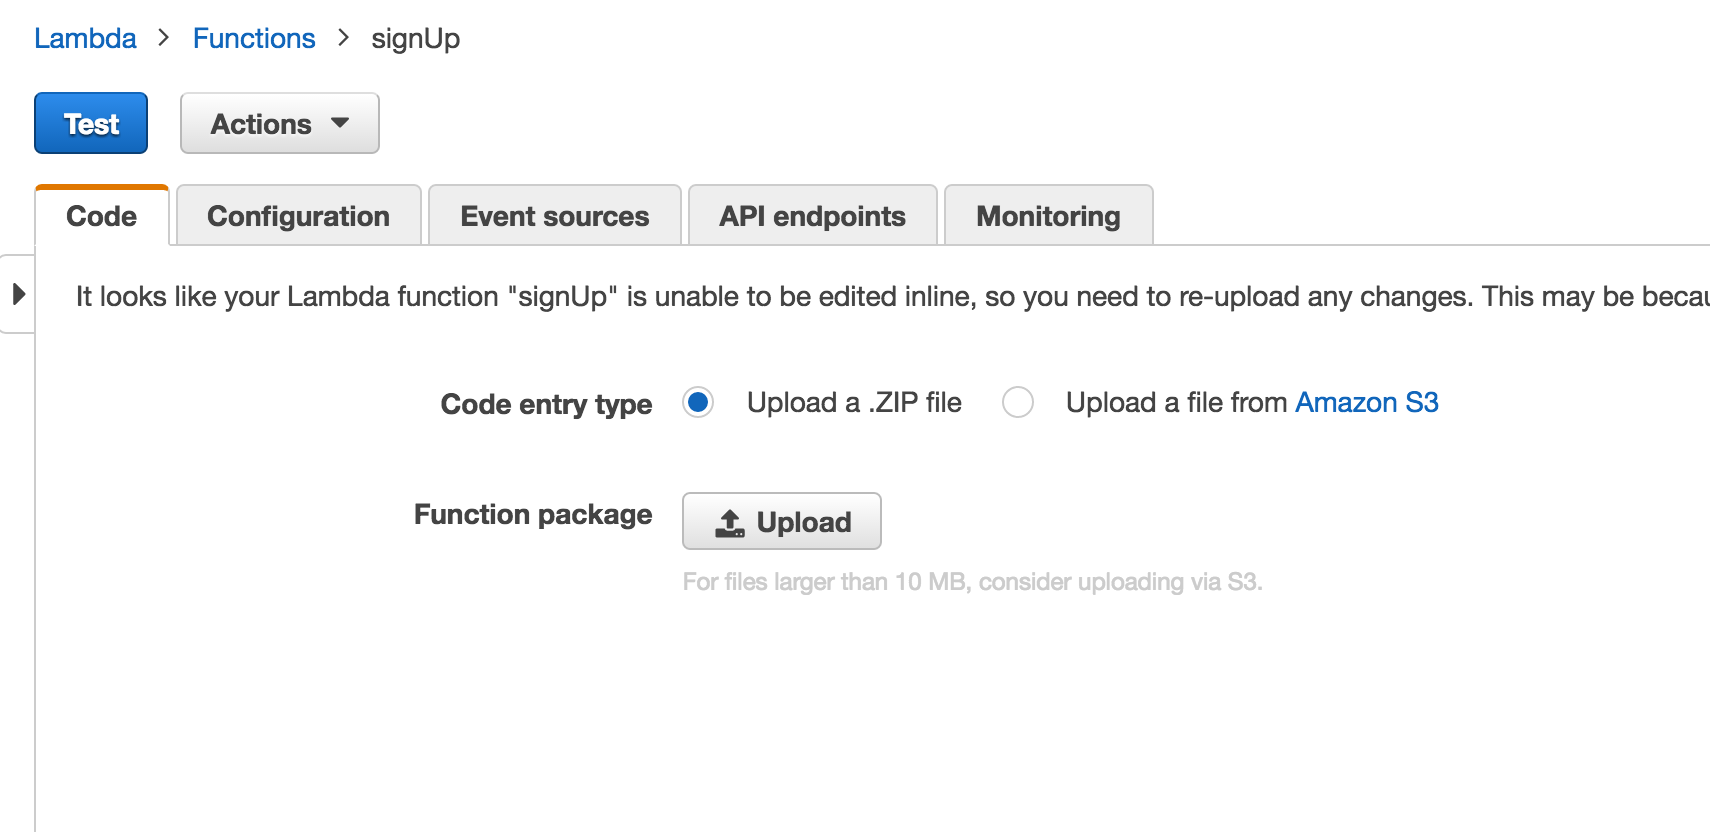 More complex functions that include external modules will need to be zipped up and uploaded either through the gui or using S3.
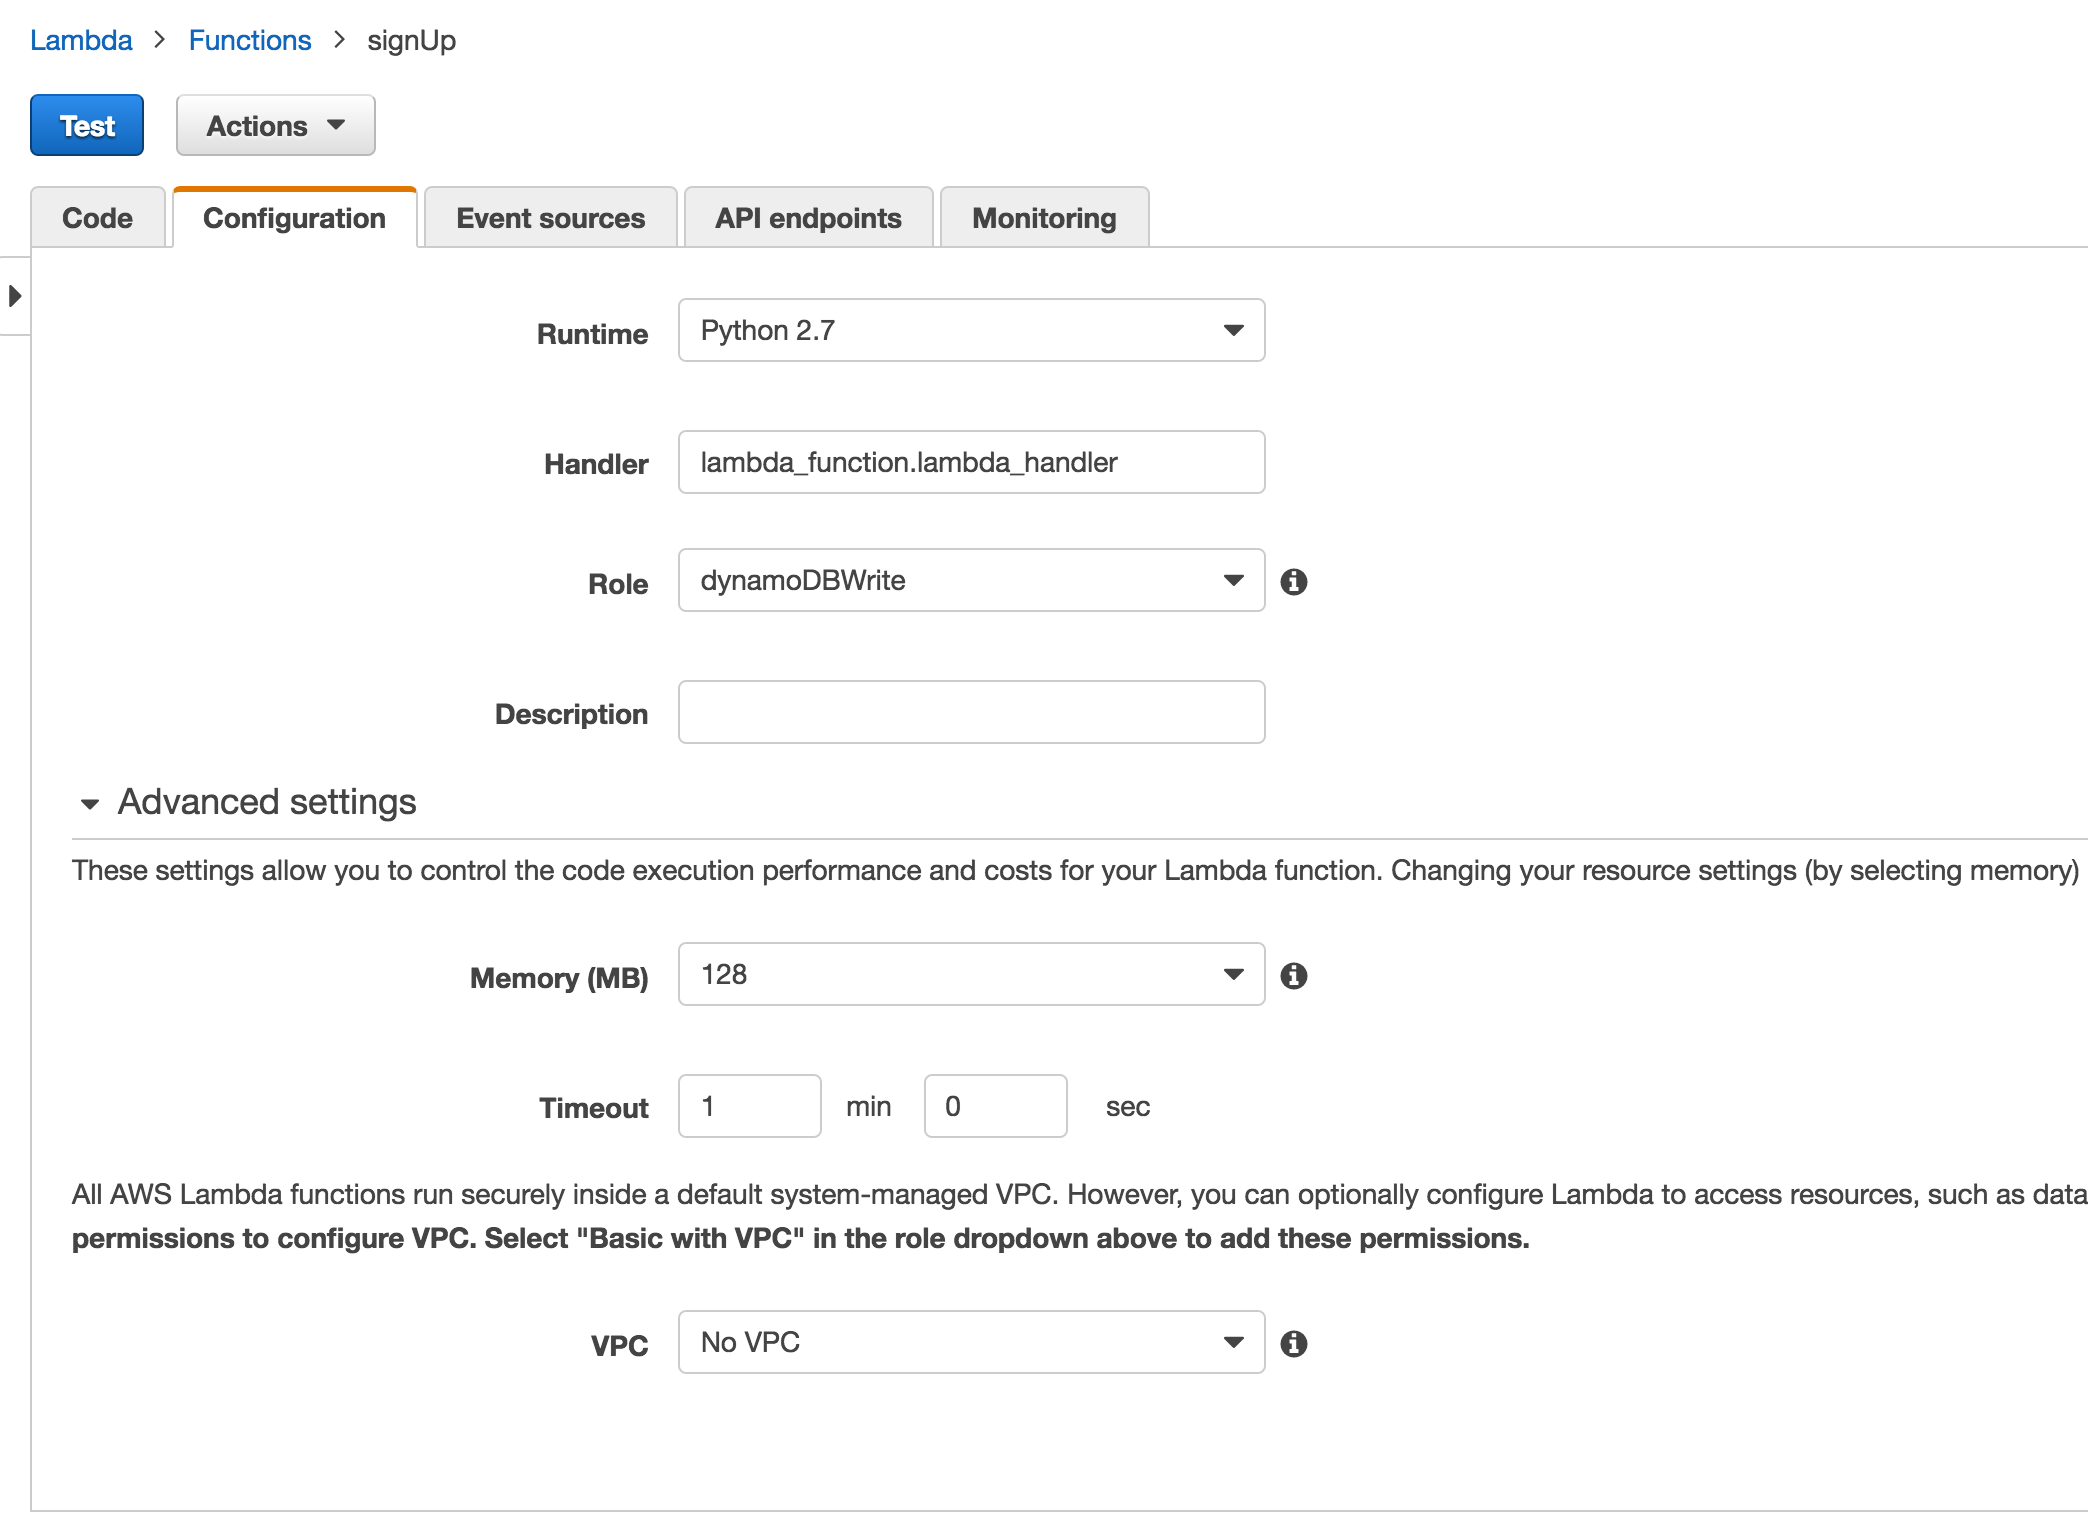 When configuring a Lambda function, you will need to give it an IAM role with perms to access the other AWS as desired.
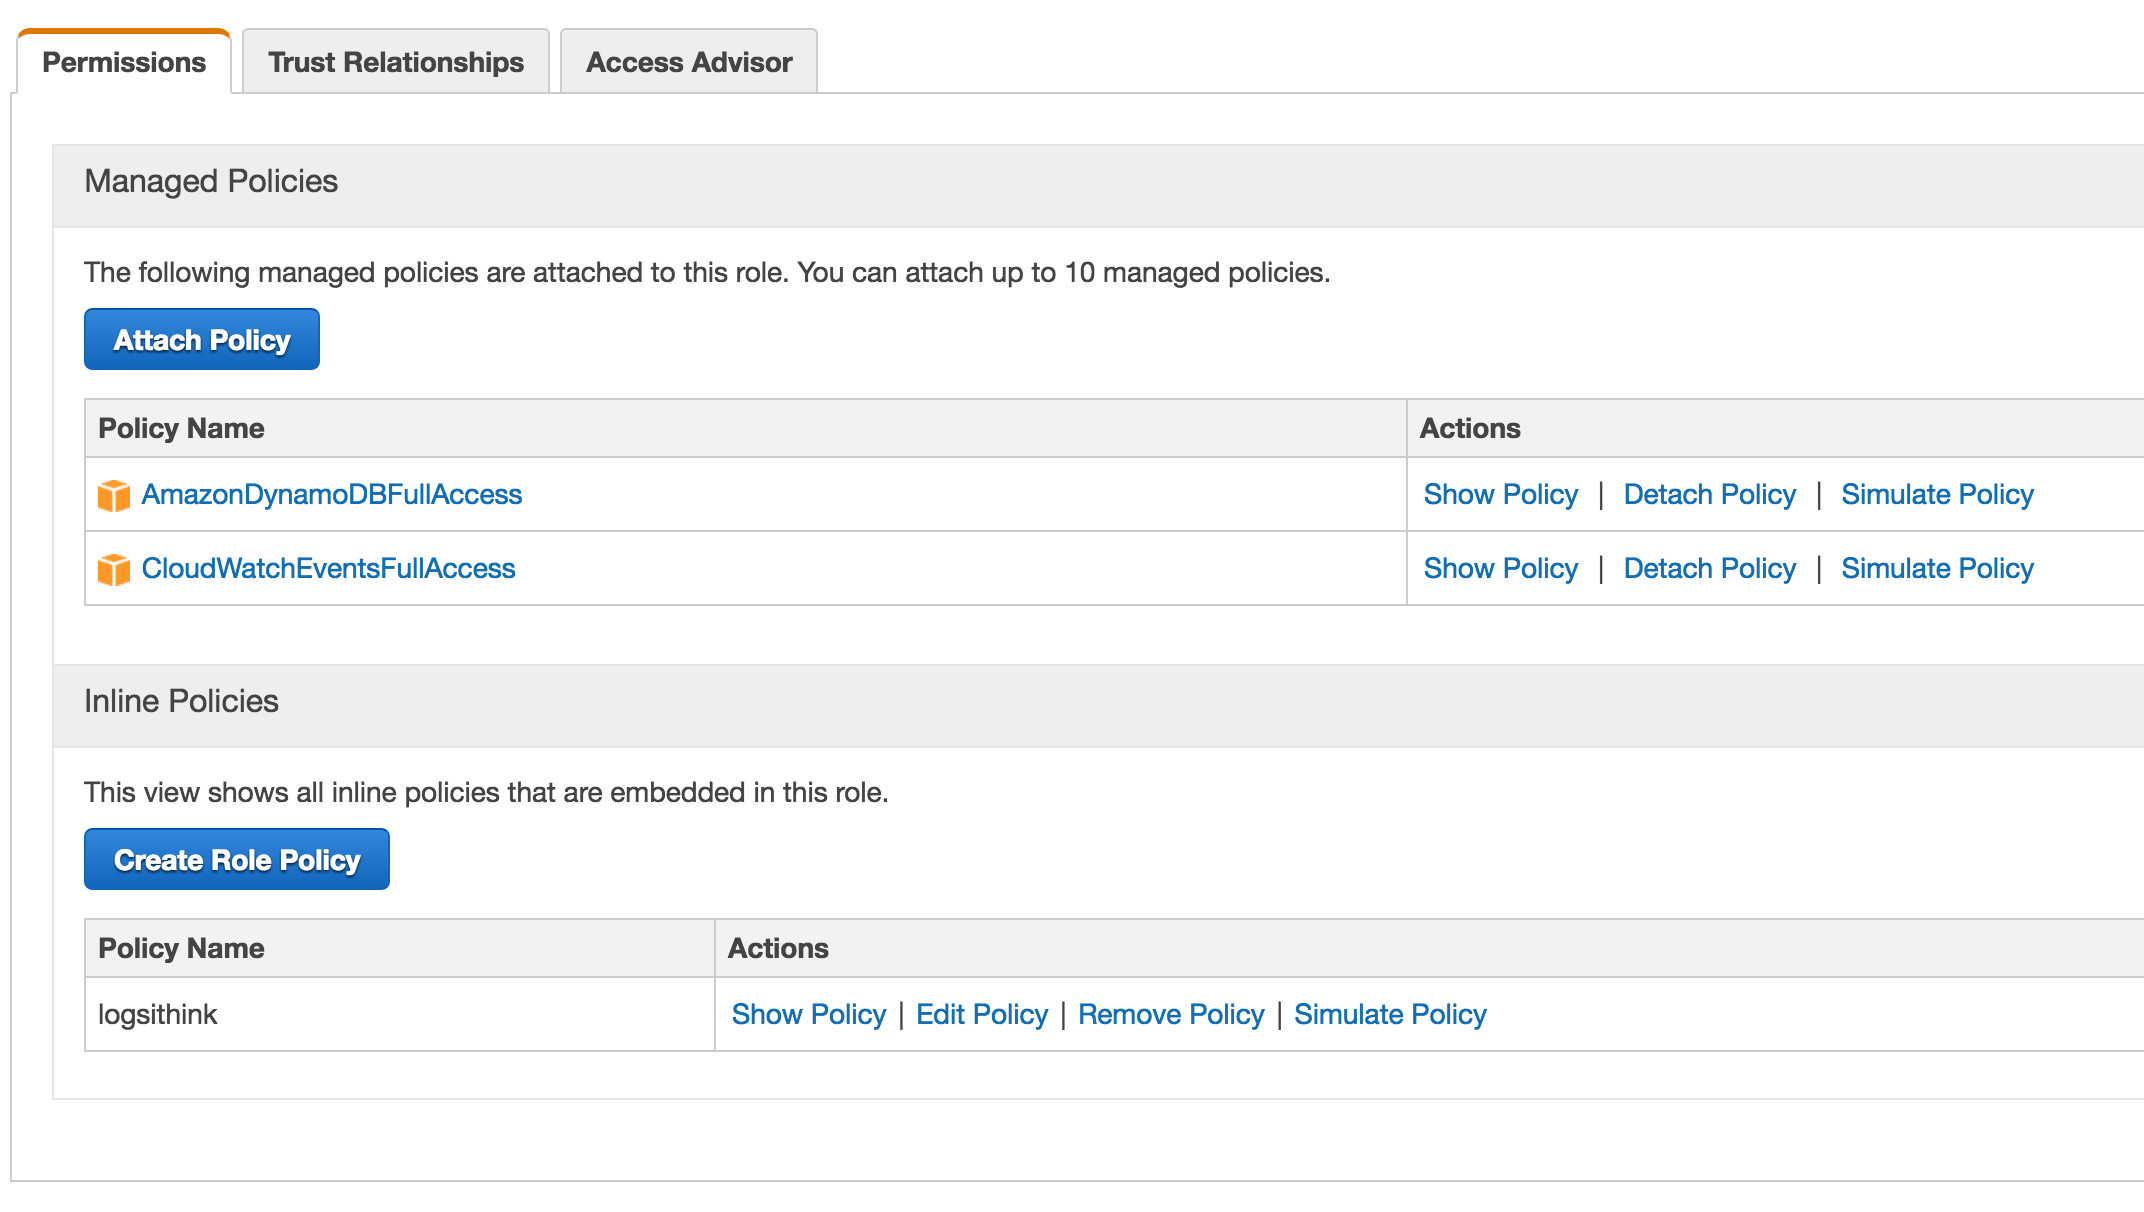 I this case, I want my function to be able to write to the log stream. I want everything to have this ability. Log-less debugging is not fun. I also want my function to have read/write permissions to DynamoDB.
The API
API Gateway allows you to expose your lambda functions via a REST api.
 To expose a REST method, you first must create a new api resource.
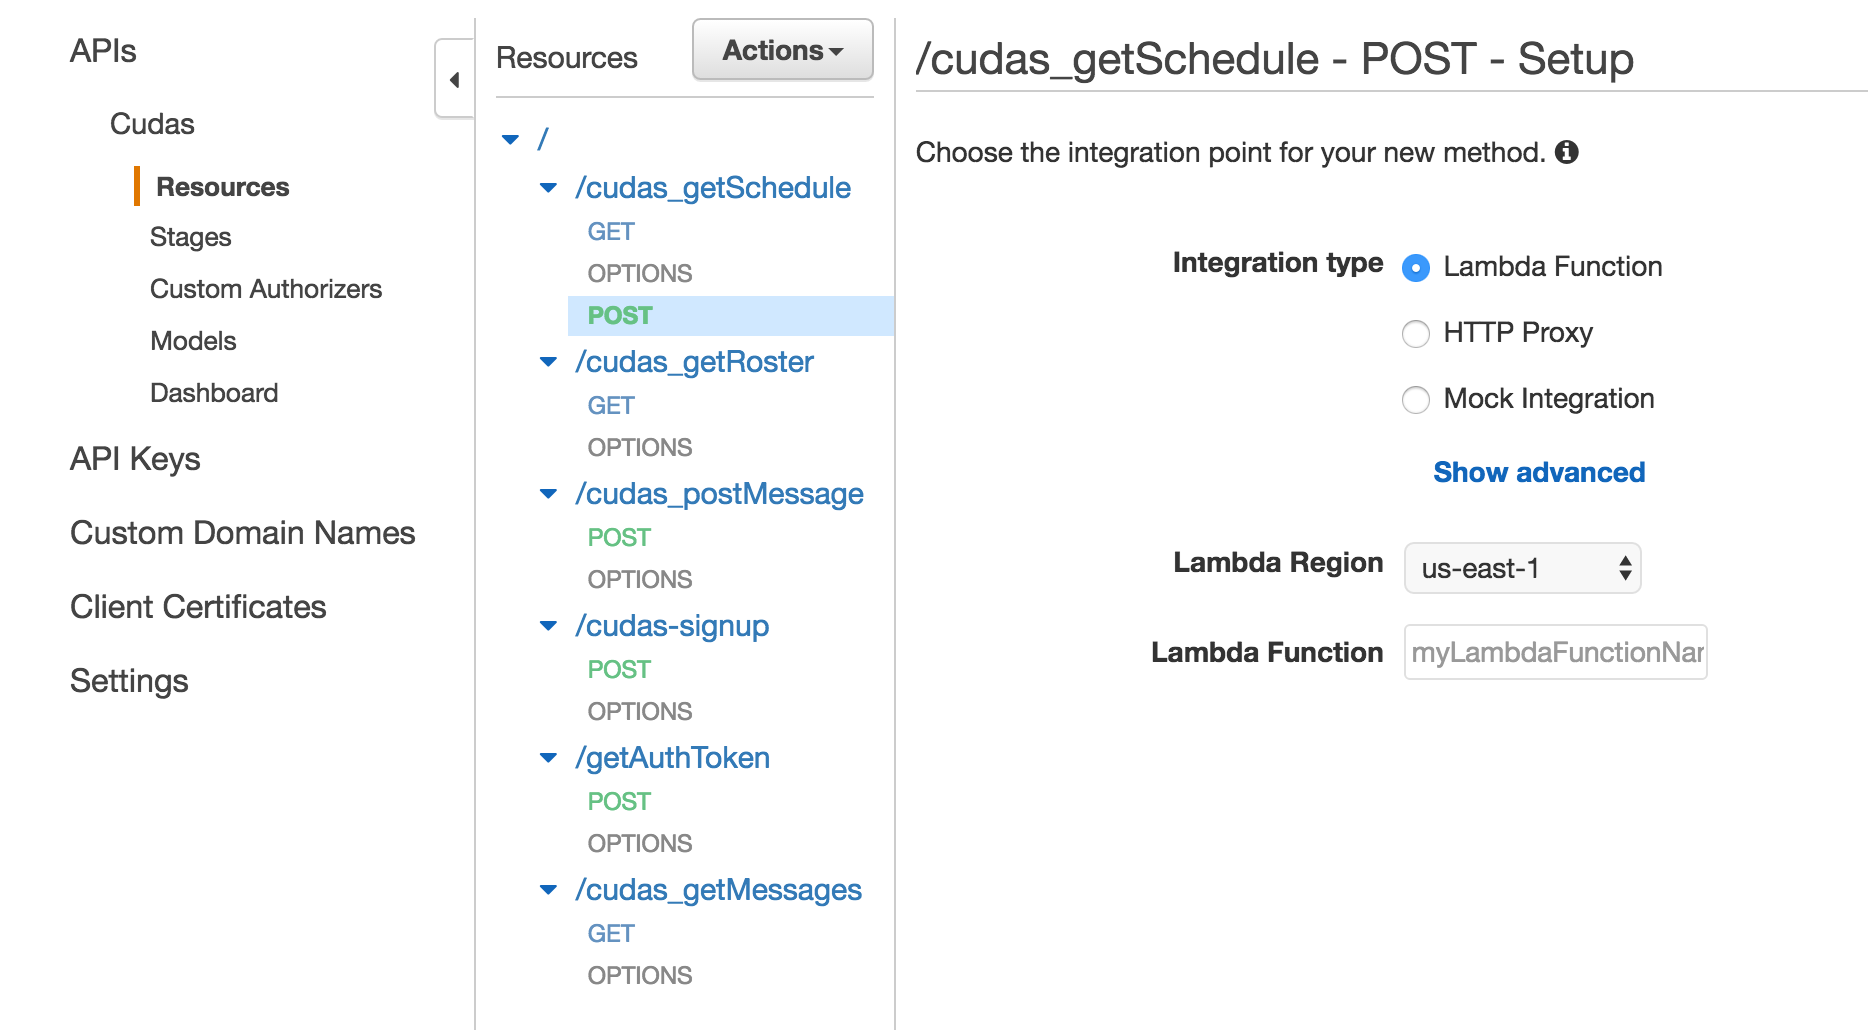 Once you have your resource, create a new method for that resource. Choose your method verb such as GET or POST. Then, configure your integration type to be a Lambda Function.
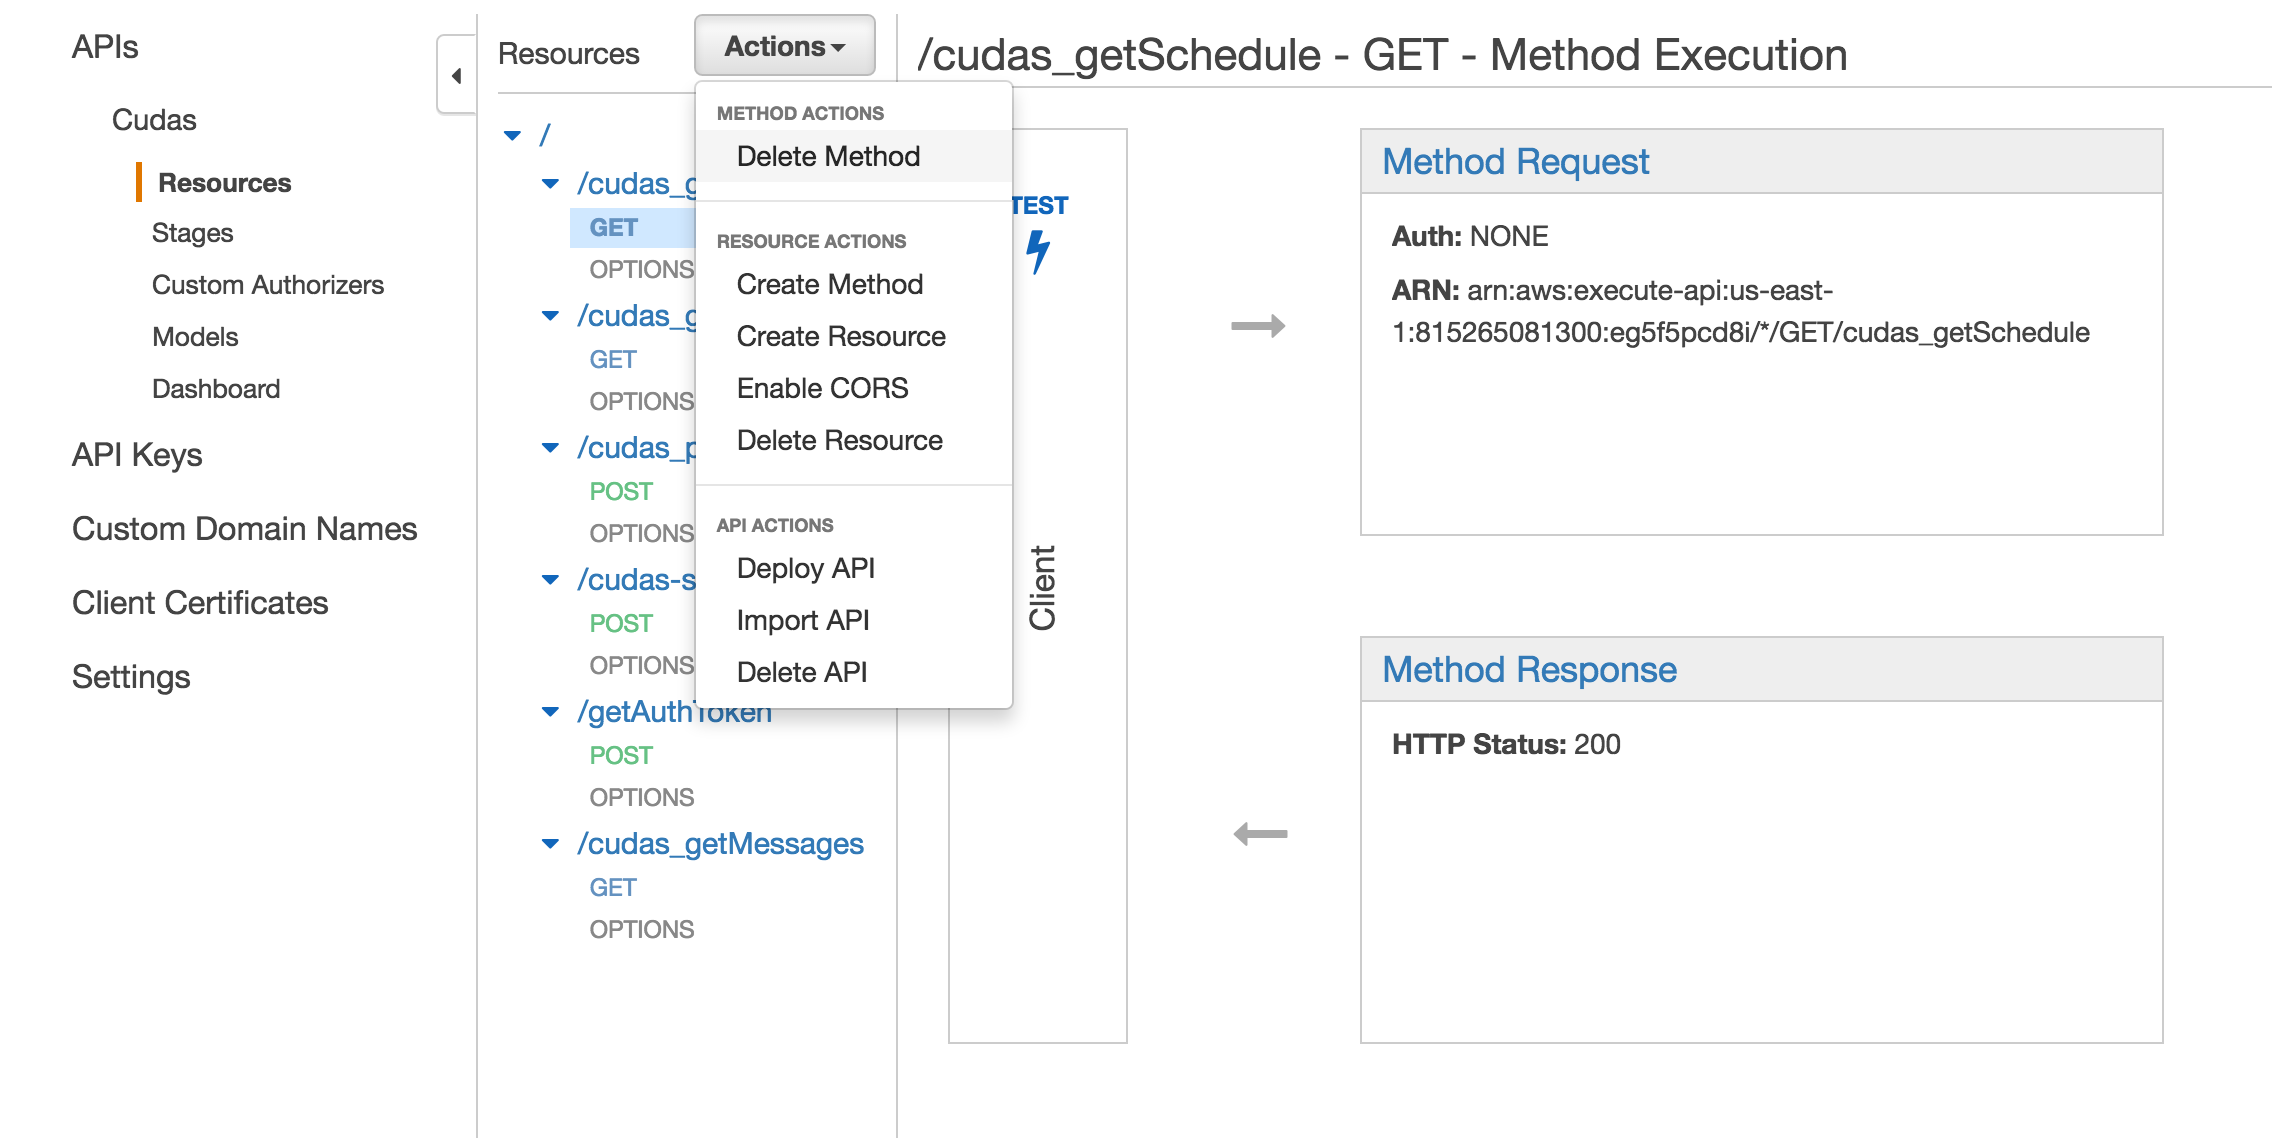 In order to hit your API from the frontend domain, the api has to allow Cross Origin Recourse Sharing or CORS. API Gateway makes this very easy. Simply select your resource, then use the Actions dropdown to select Enable CORS. On the next page, just hit the big blue button that says “Enable CORS and replace existing CORS headers”. When you do this, an OPTIONS method will be added to your resource. The serves as a ‘pre-flight’ verification step for the other methods. The response headers on the OPTIONS method will tell the client the acceptable origins and request headers for the other methods. NOTE: If you use the caching feature on the API Gateway, be aware that the cache is resource specific, not resource AND method specific. So with a cache of 2 seconds on the API and a POST coming from a modern browser, the browser will first hit the resource with an OPTIONS method. Then, the browser will attempt the POST. The POST will have the same response data as the OPTIONS request as it will hit the cache.
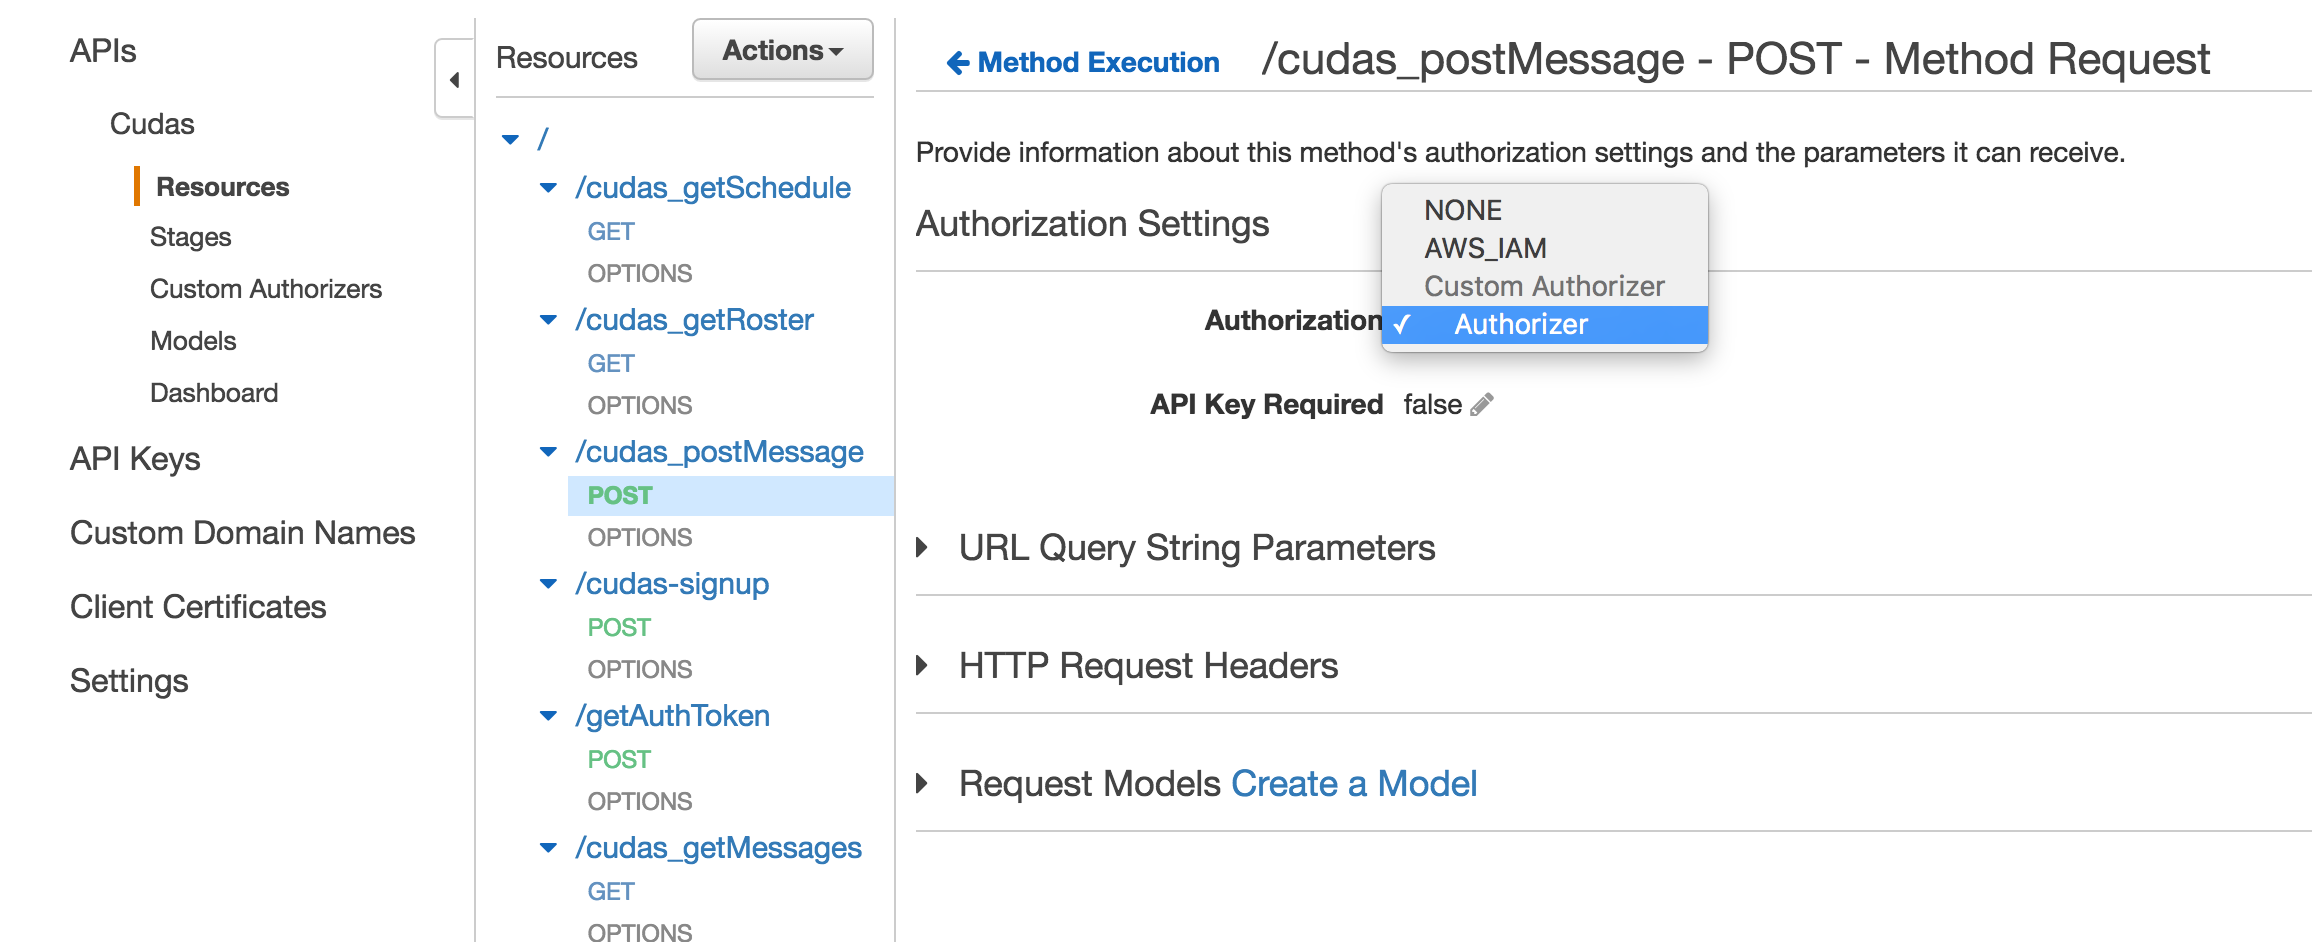 The API Gateway has a very cool custom authorization feature. Any method can be configured to authenticate using custom code. The ‘Authorization’ header is sent to a Lambda function of your choosing. The Lambda function is expected to return a valid IAM policy. This policy is used to determine if the user has access to the method or not.
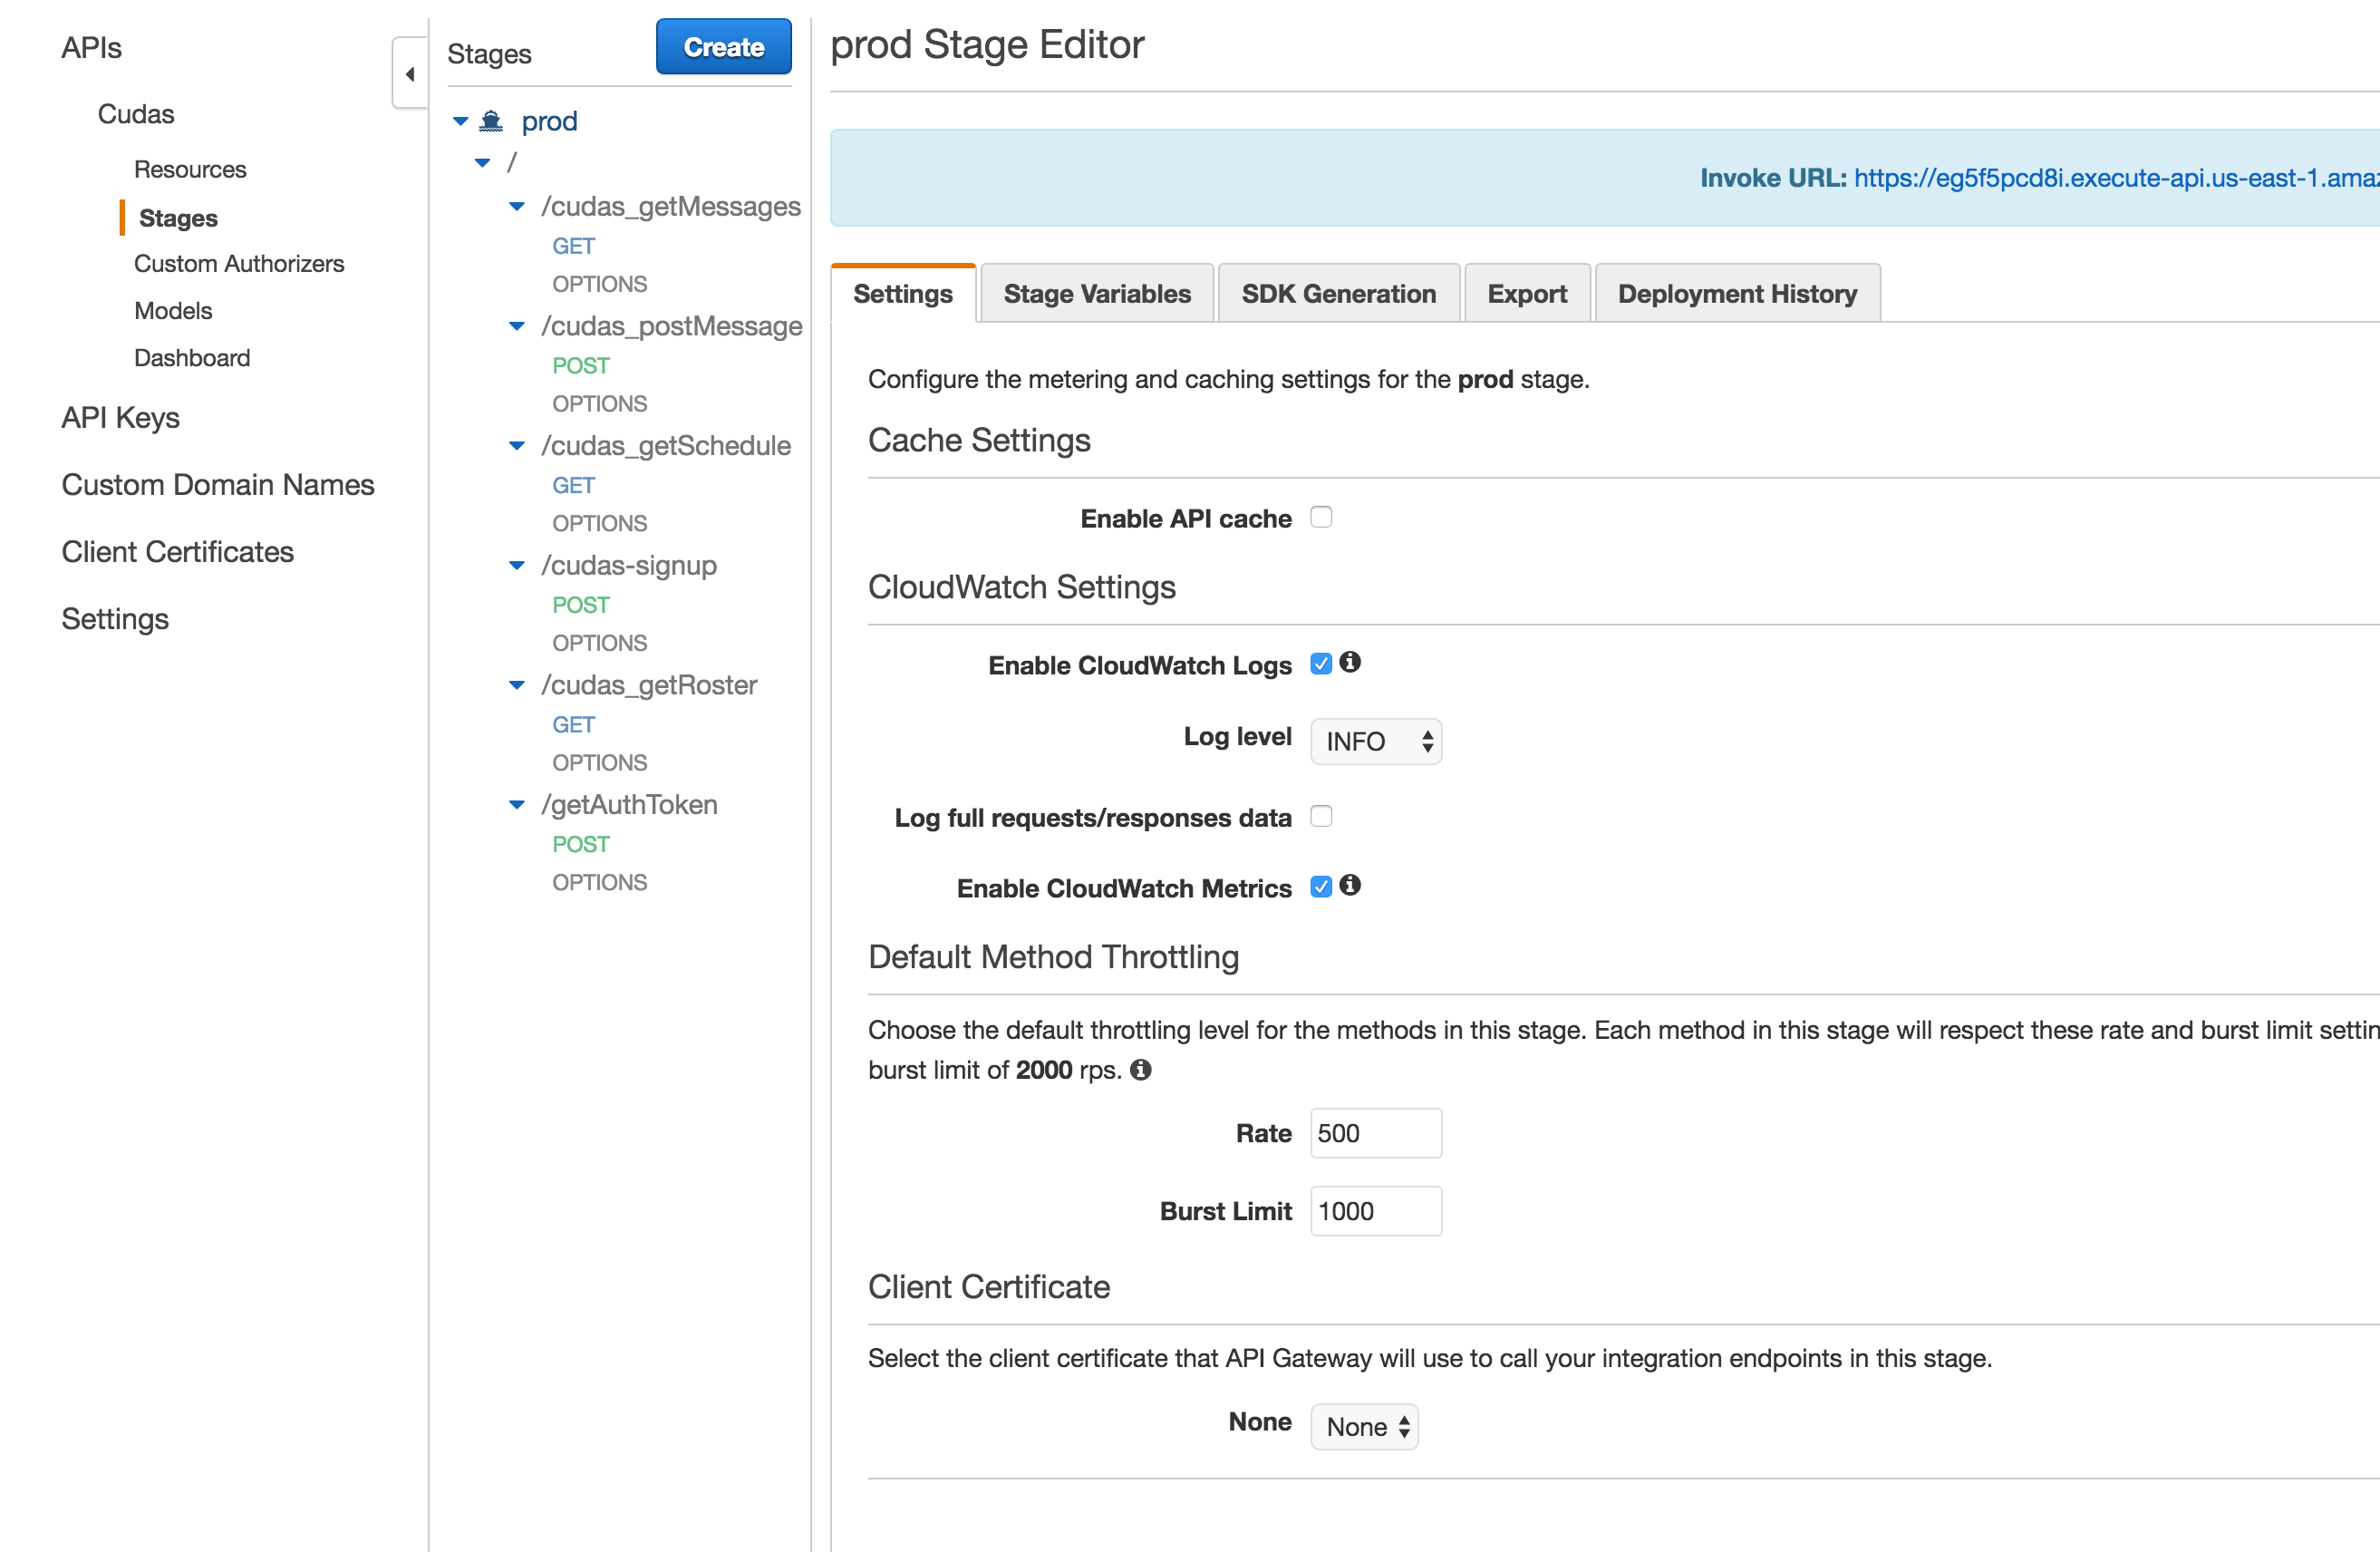 Once your api is created and configured, create a deployment stage and deploy it.
The Front-End
Creating a static webiste in S3 is pretty common place and highly documented, so I won’t go into it much here.
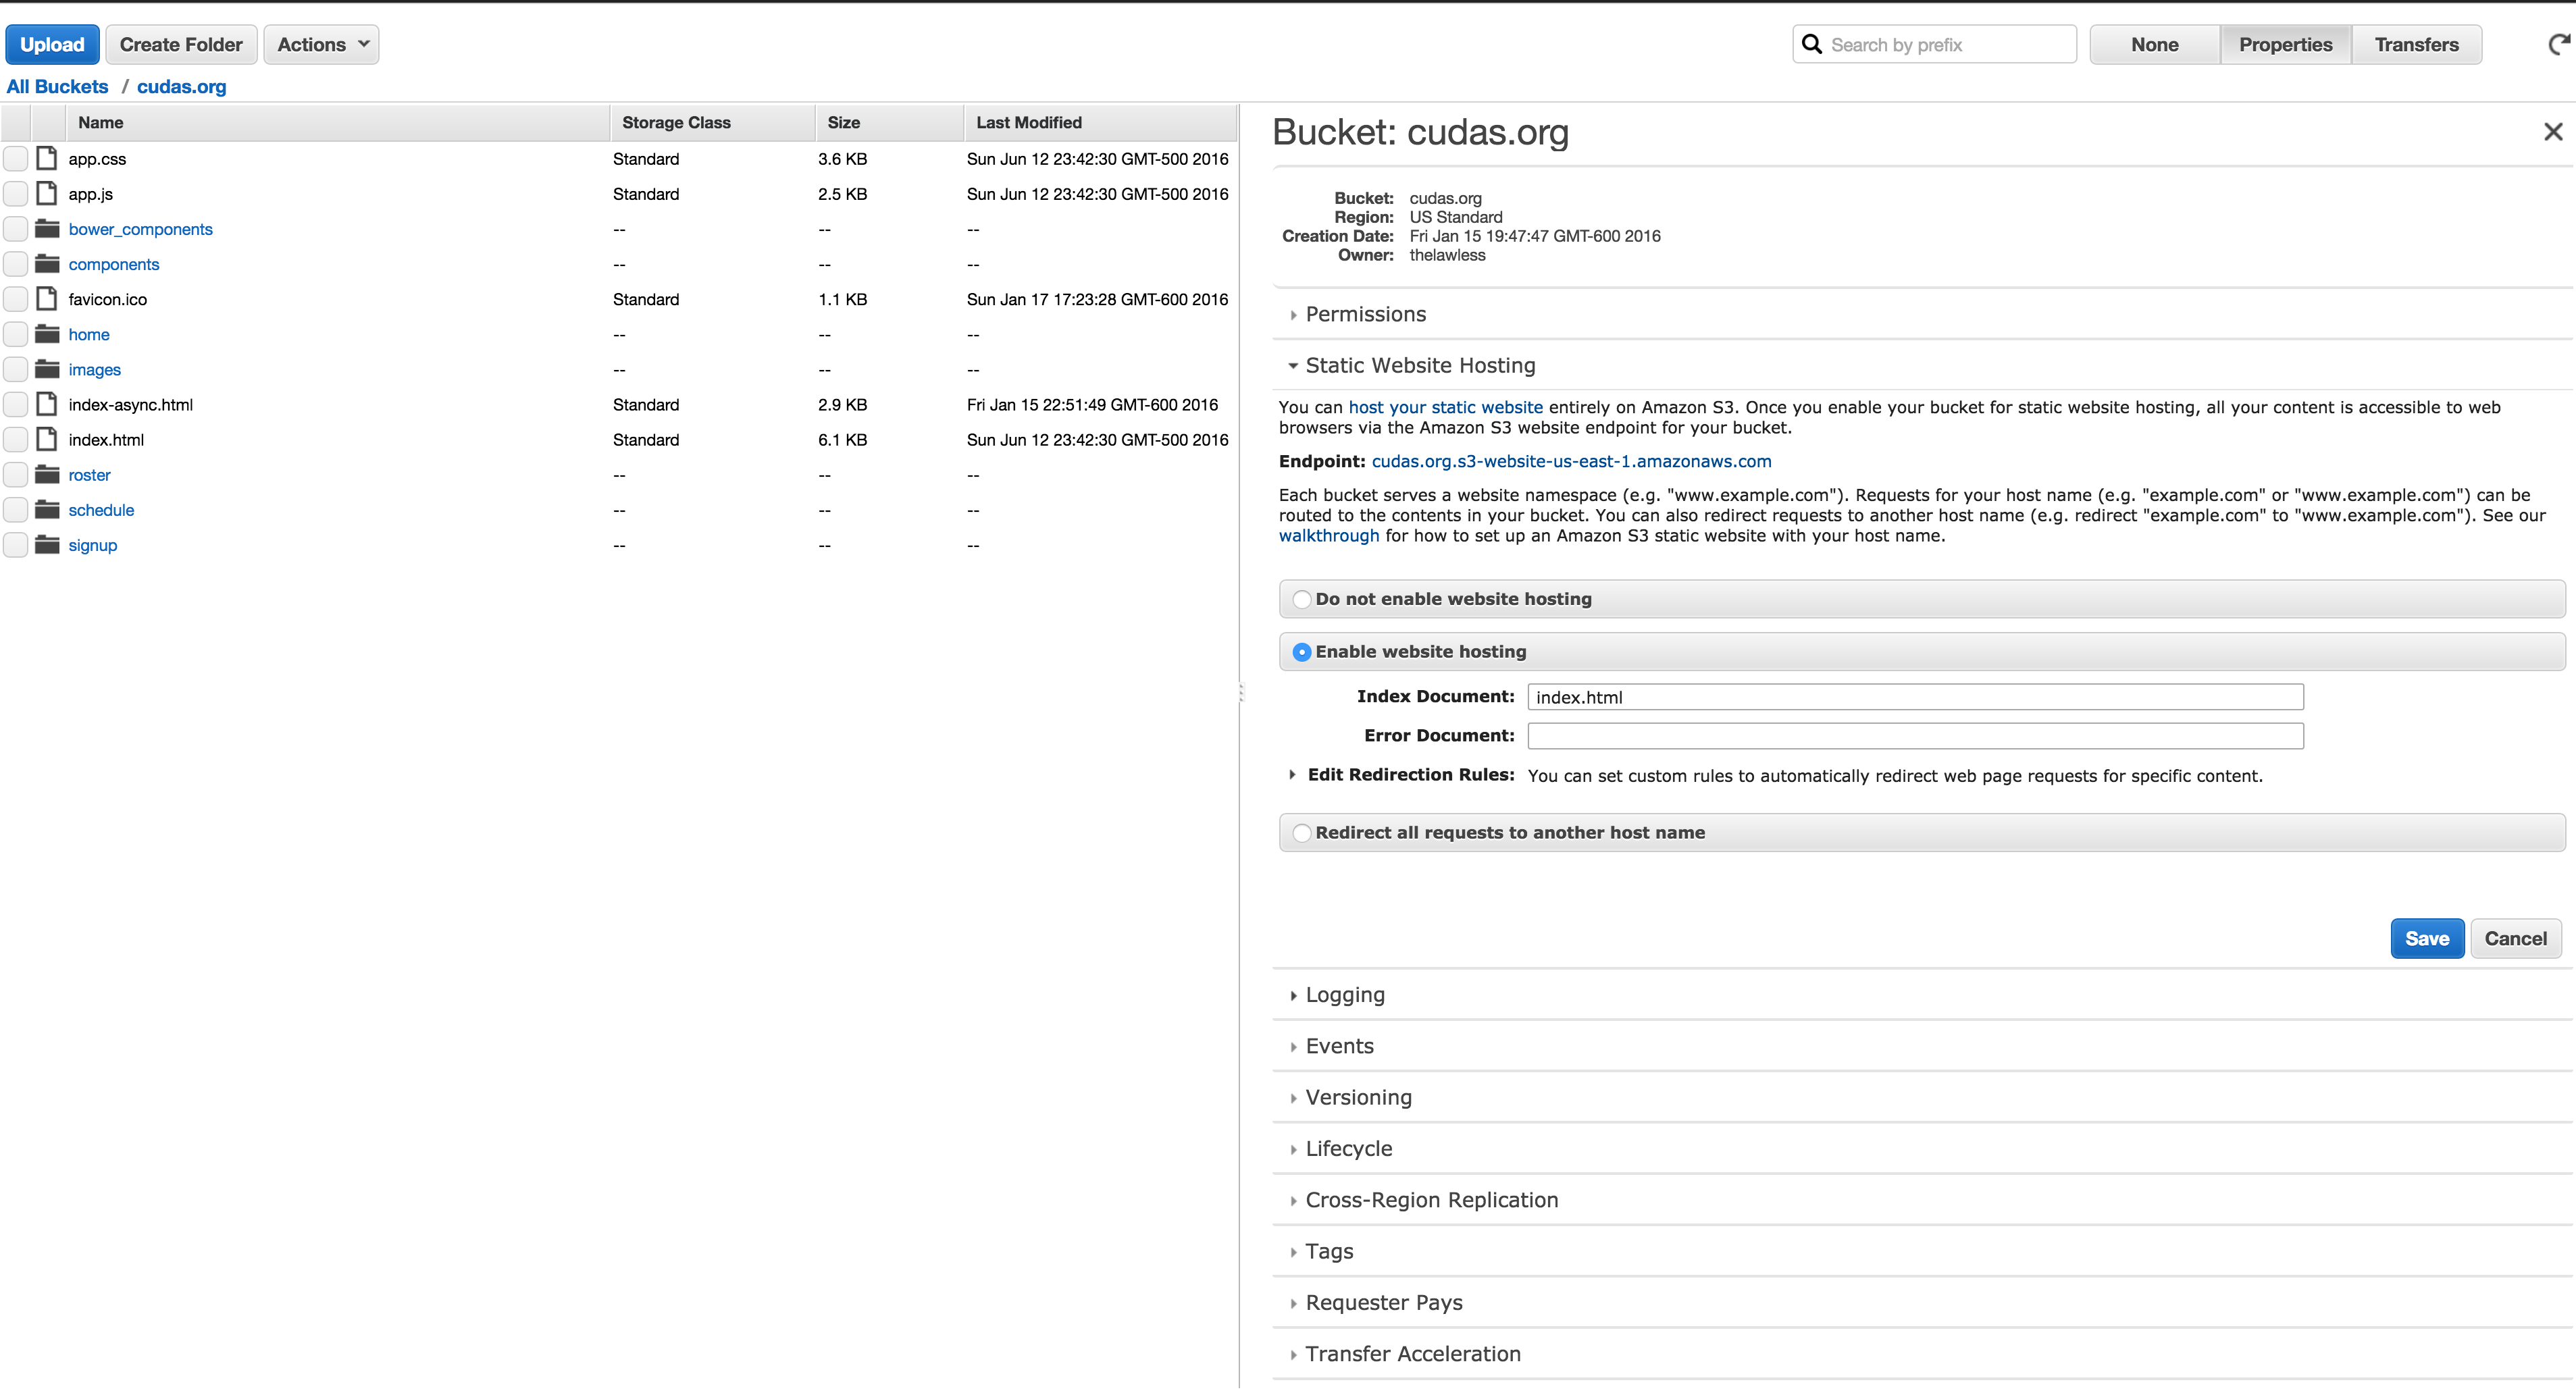 But, you will want to set up an S3 bucket as a static website with permissions for everybody to view it. Then, you will want to use Route53 to map your domain name to the bucket.
The front end will need to run completely on the client side. It is a purly static website. All code will be either in Lambda functions or Javascript.
Authentication
So, that was a long preamble. Now let’s discuss authentication using JSON Web Tokens.
Sign up
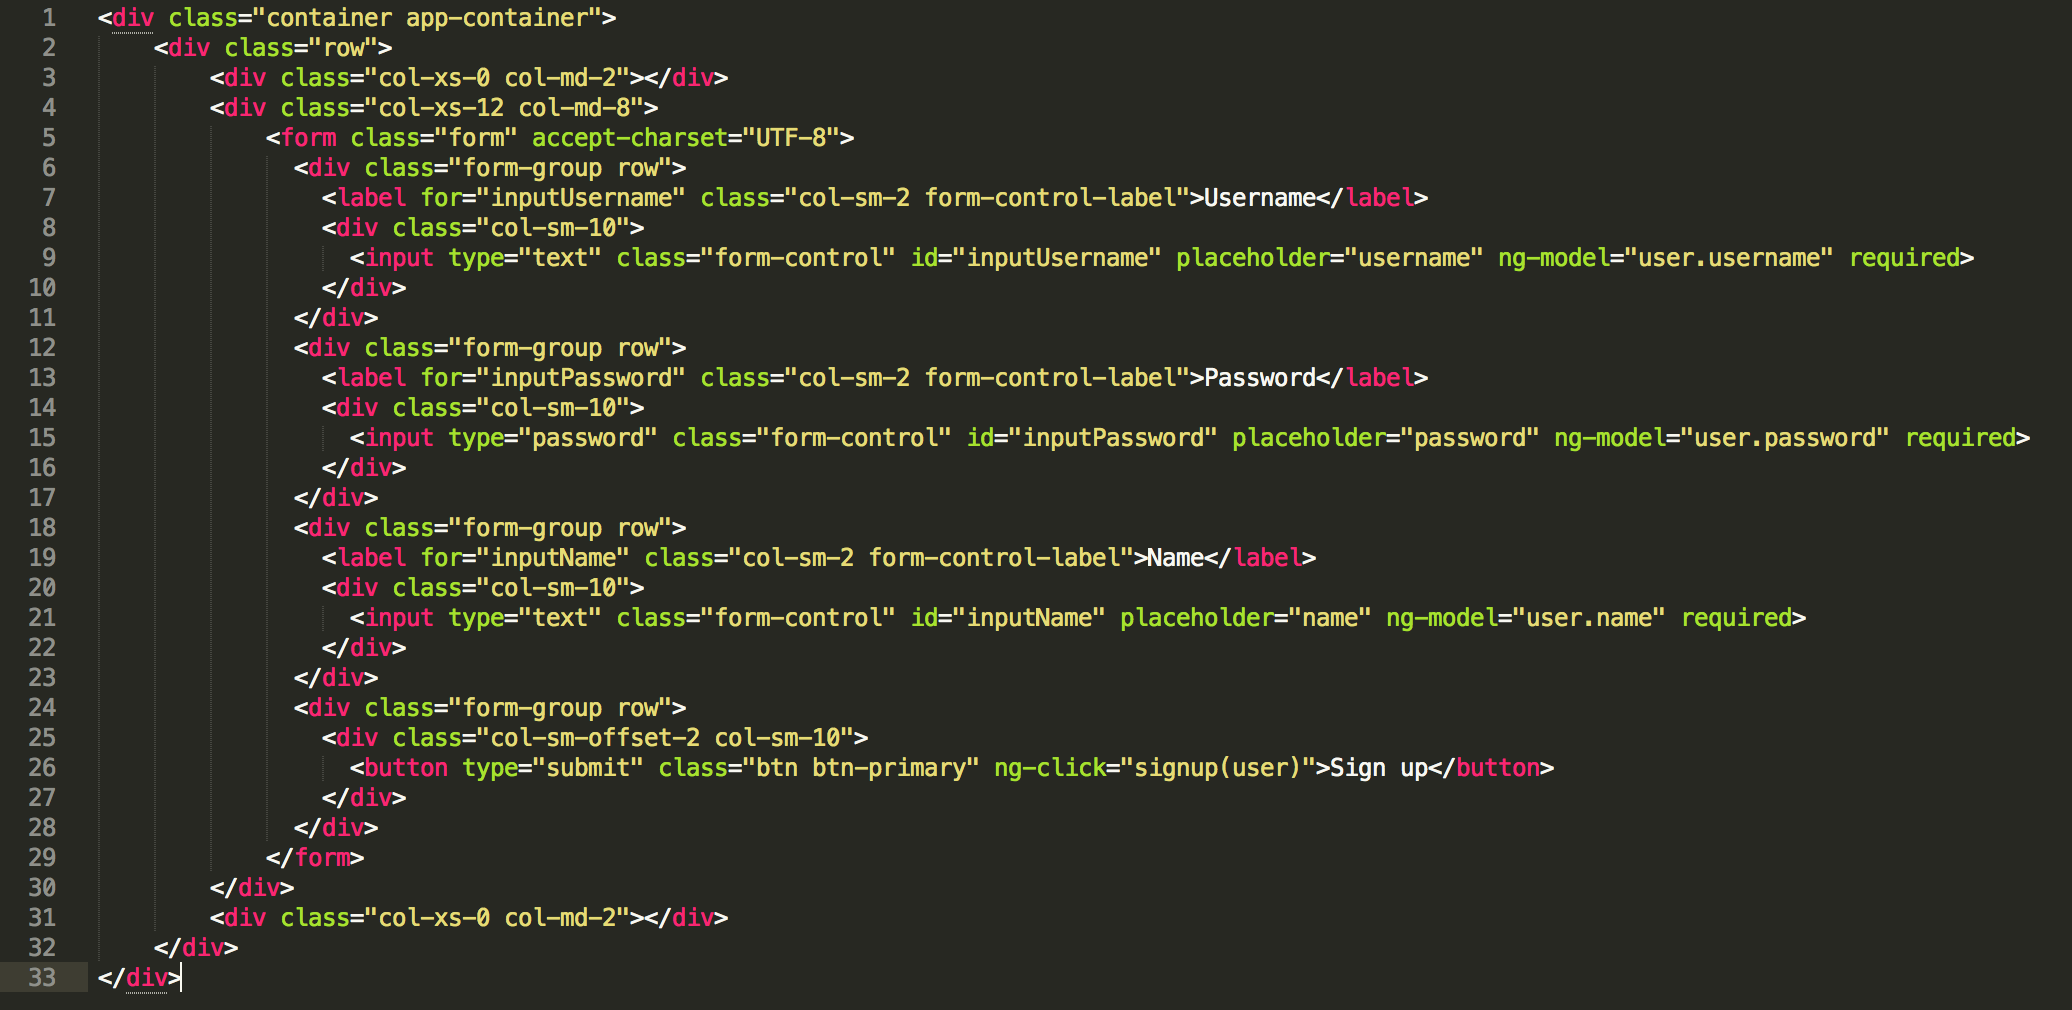 The above code is the html for the signup form. You can see that a username, password, name are being added to the ng-model.
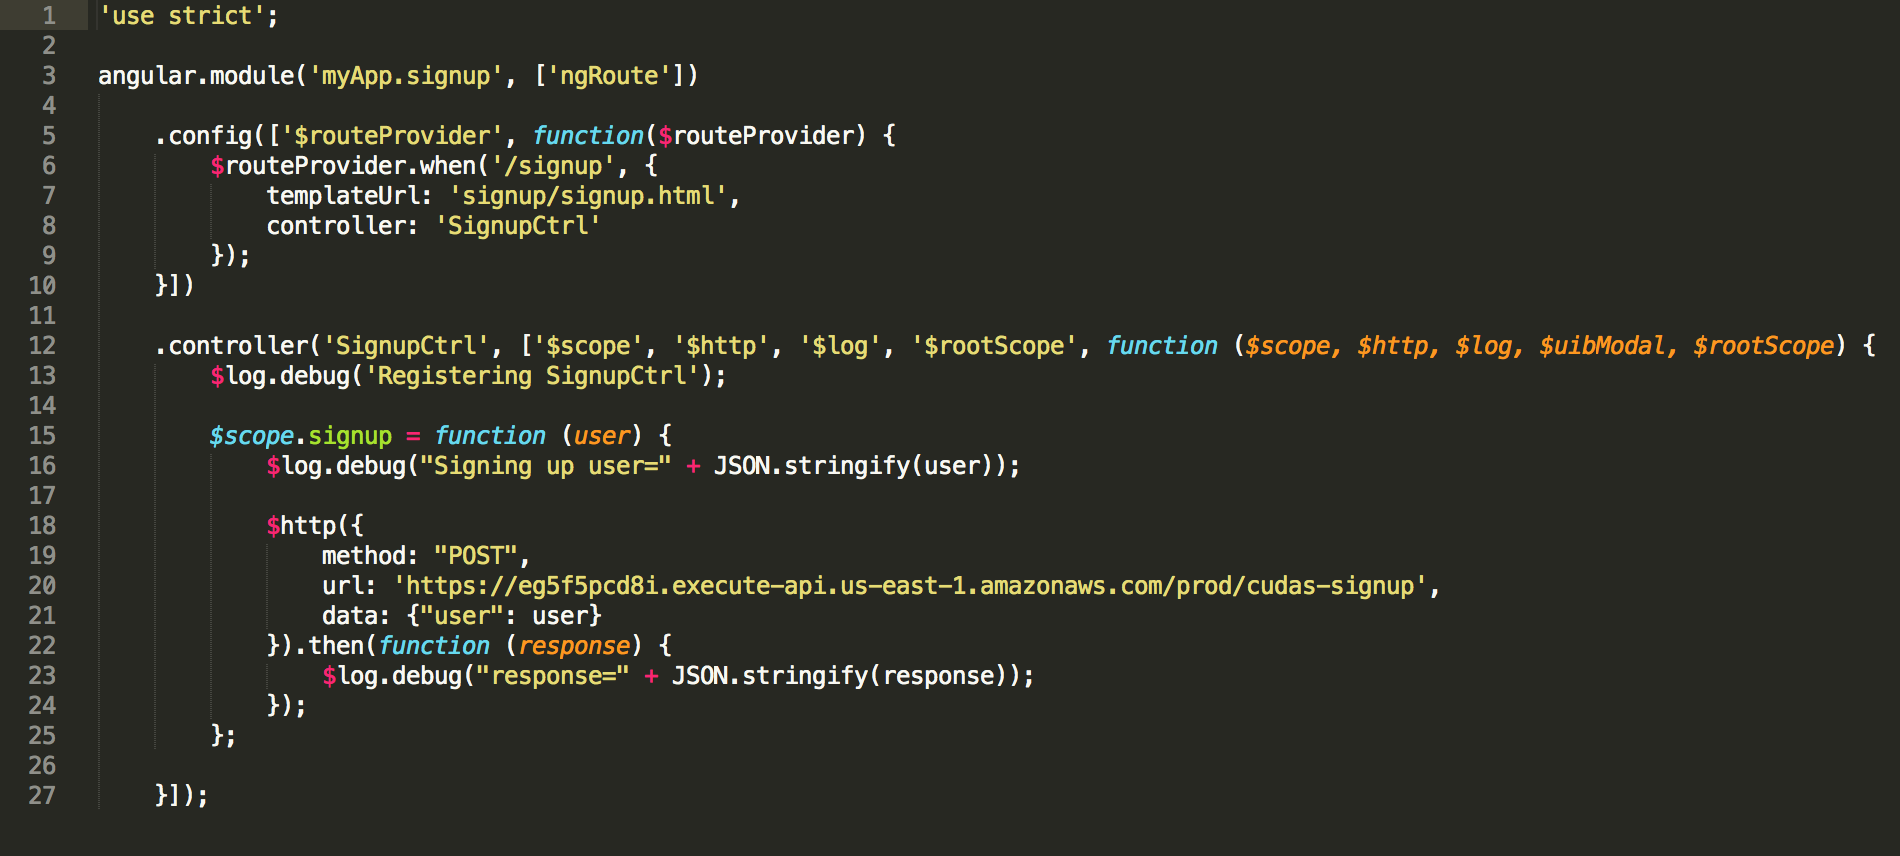 The angular code creates a post to the API Gateway to create a new user.
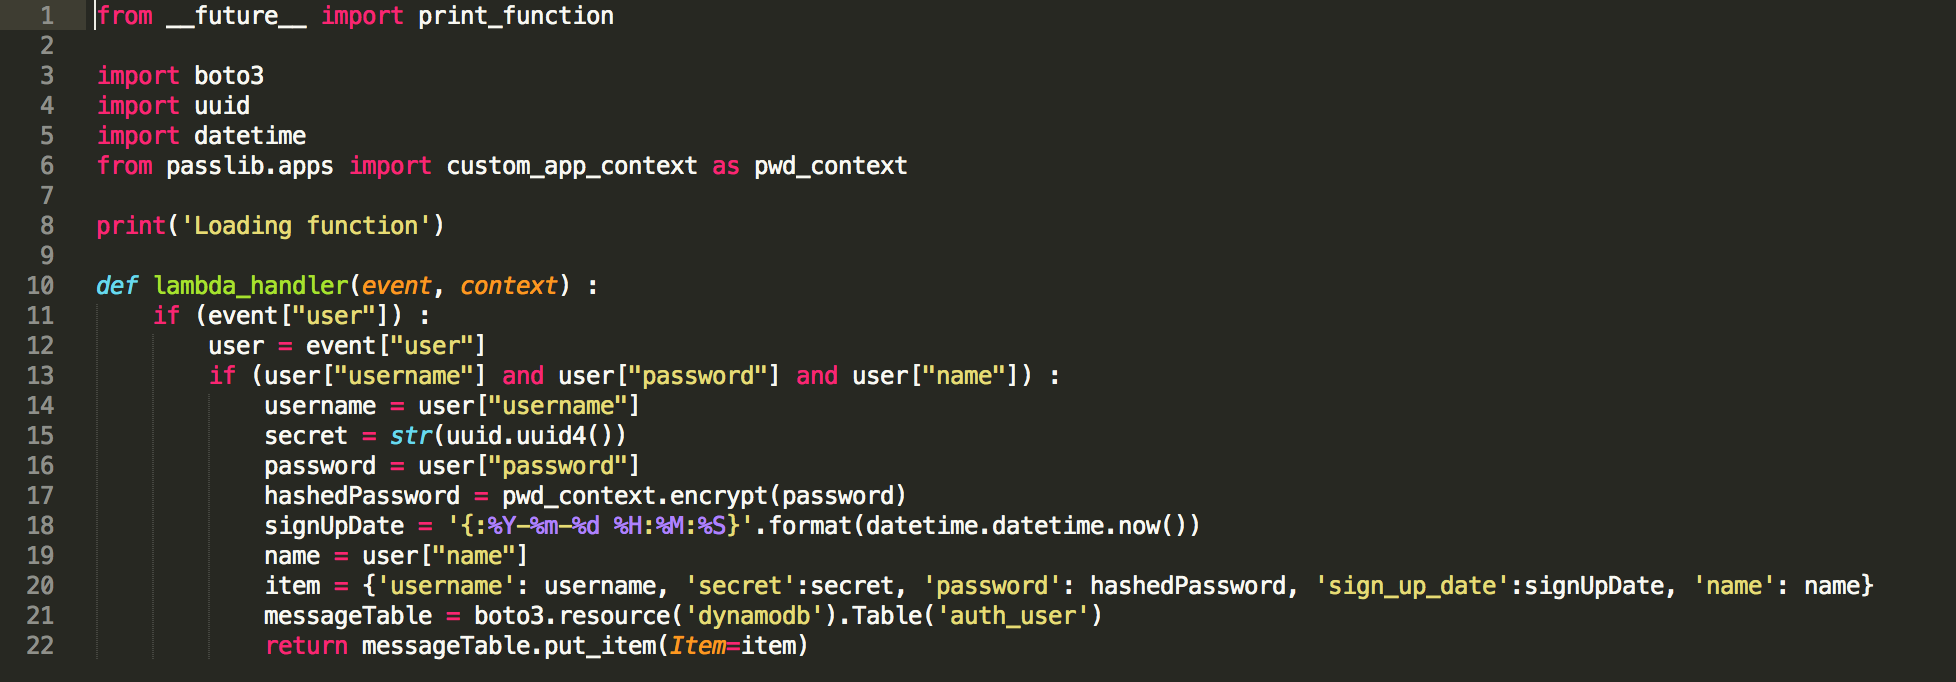 The above Lambda function is envoked on the JSON object from the form. The password is hashed and inserted into the DynamoDB table.
Login
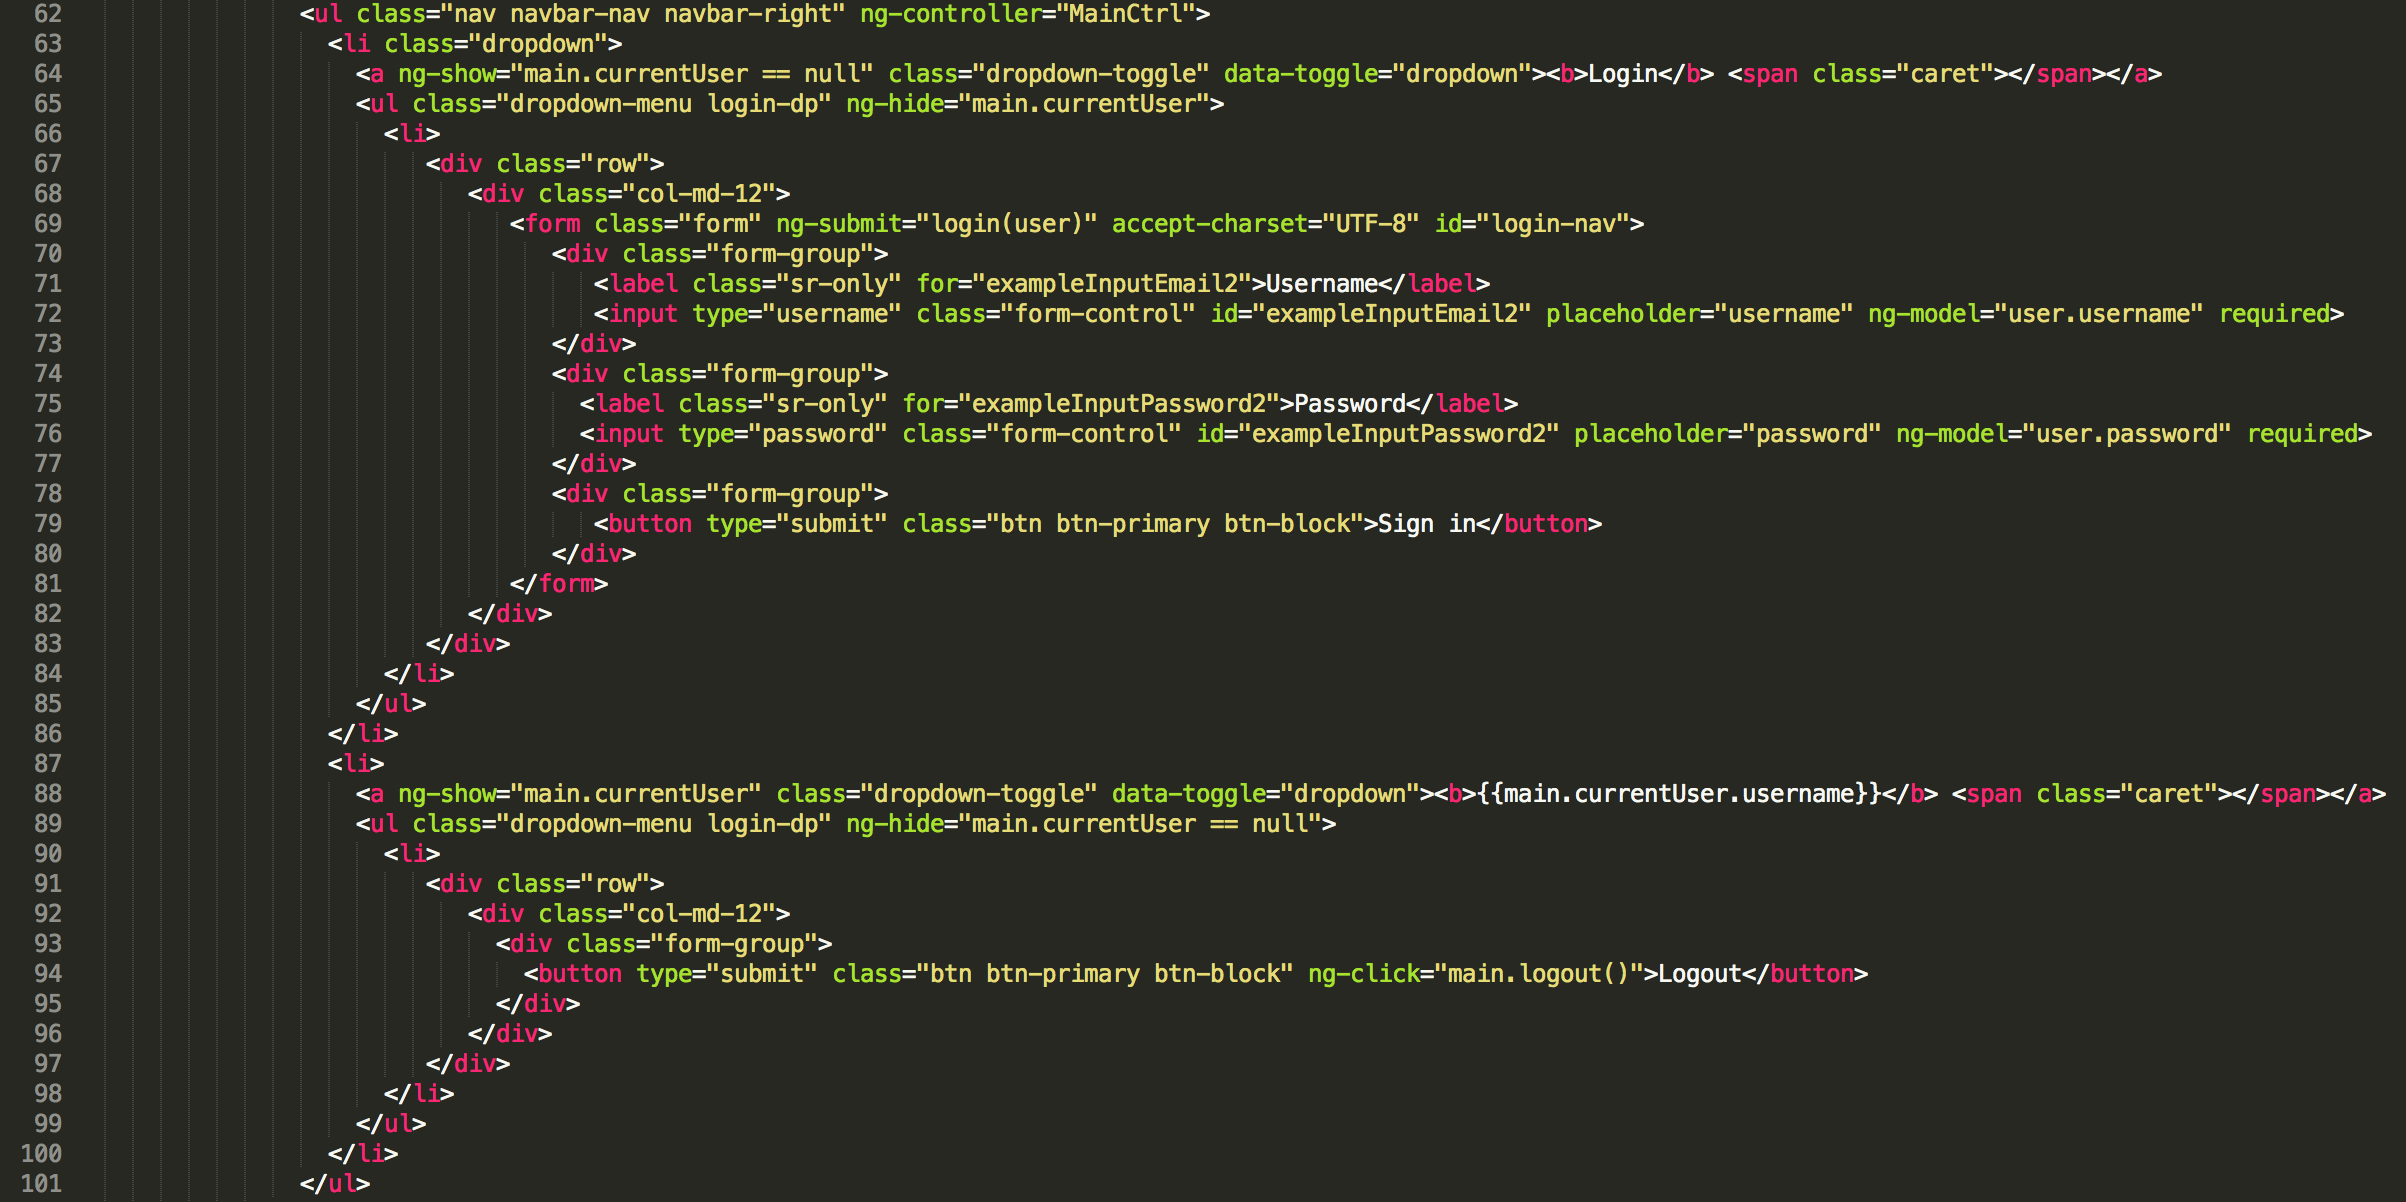 The HTML for the login is a dropdown form for login that is visible when there is no user in local storage on the browser and a dropdown logout button that is visible when there is a user in local storage.
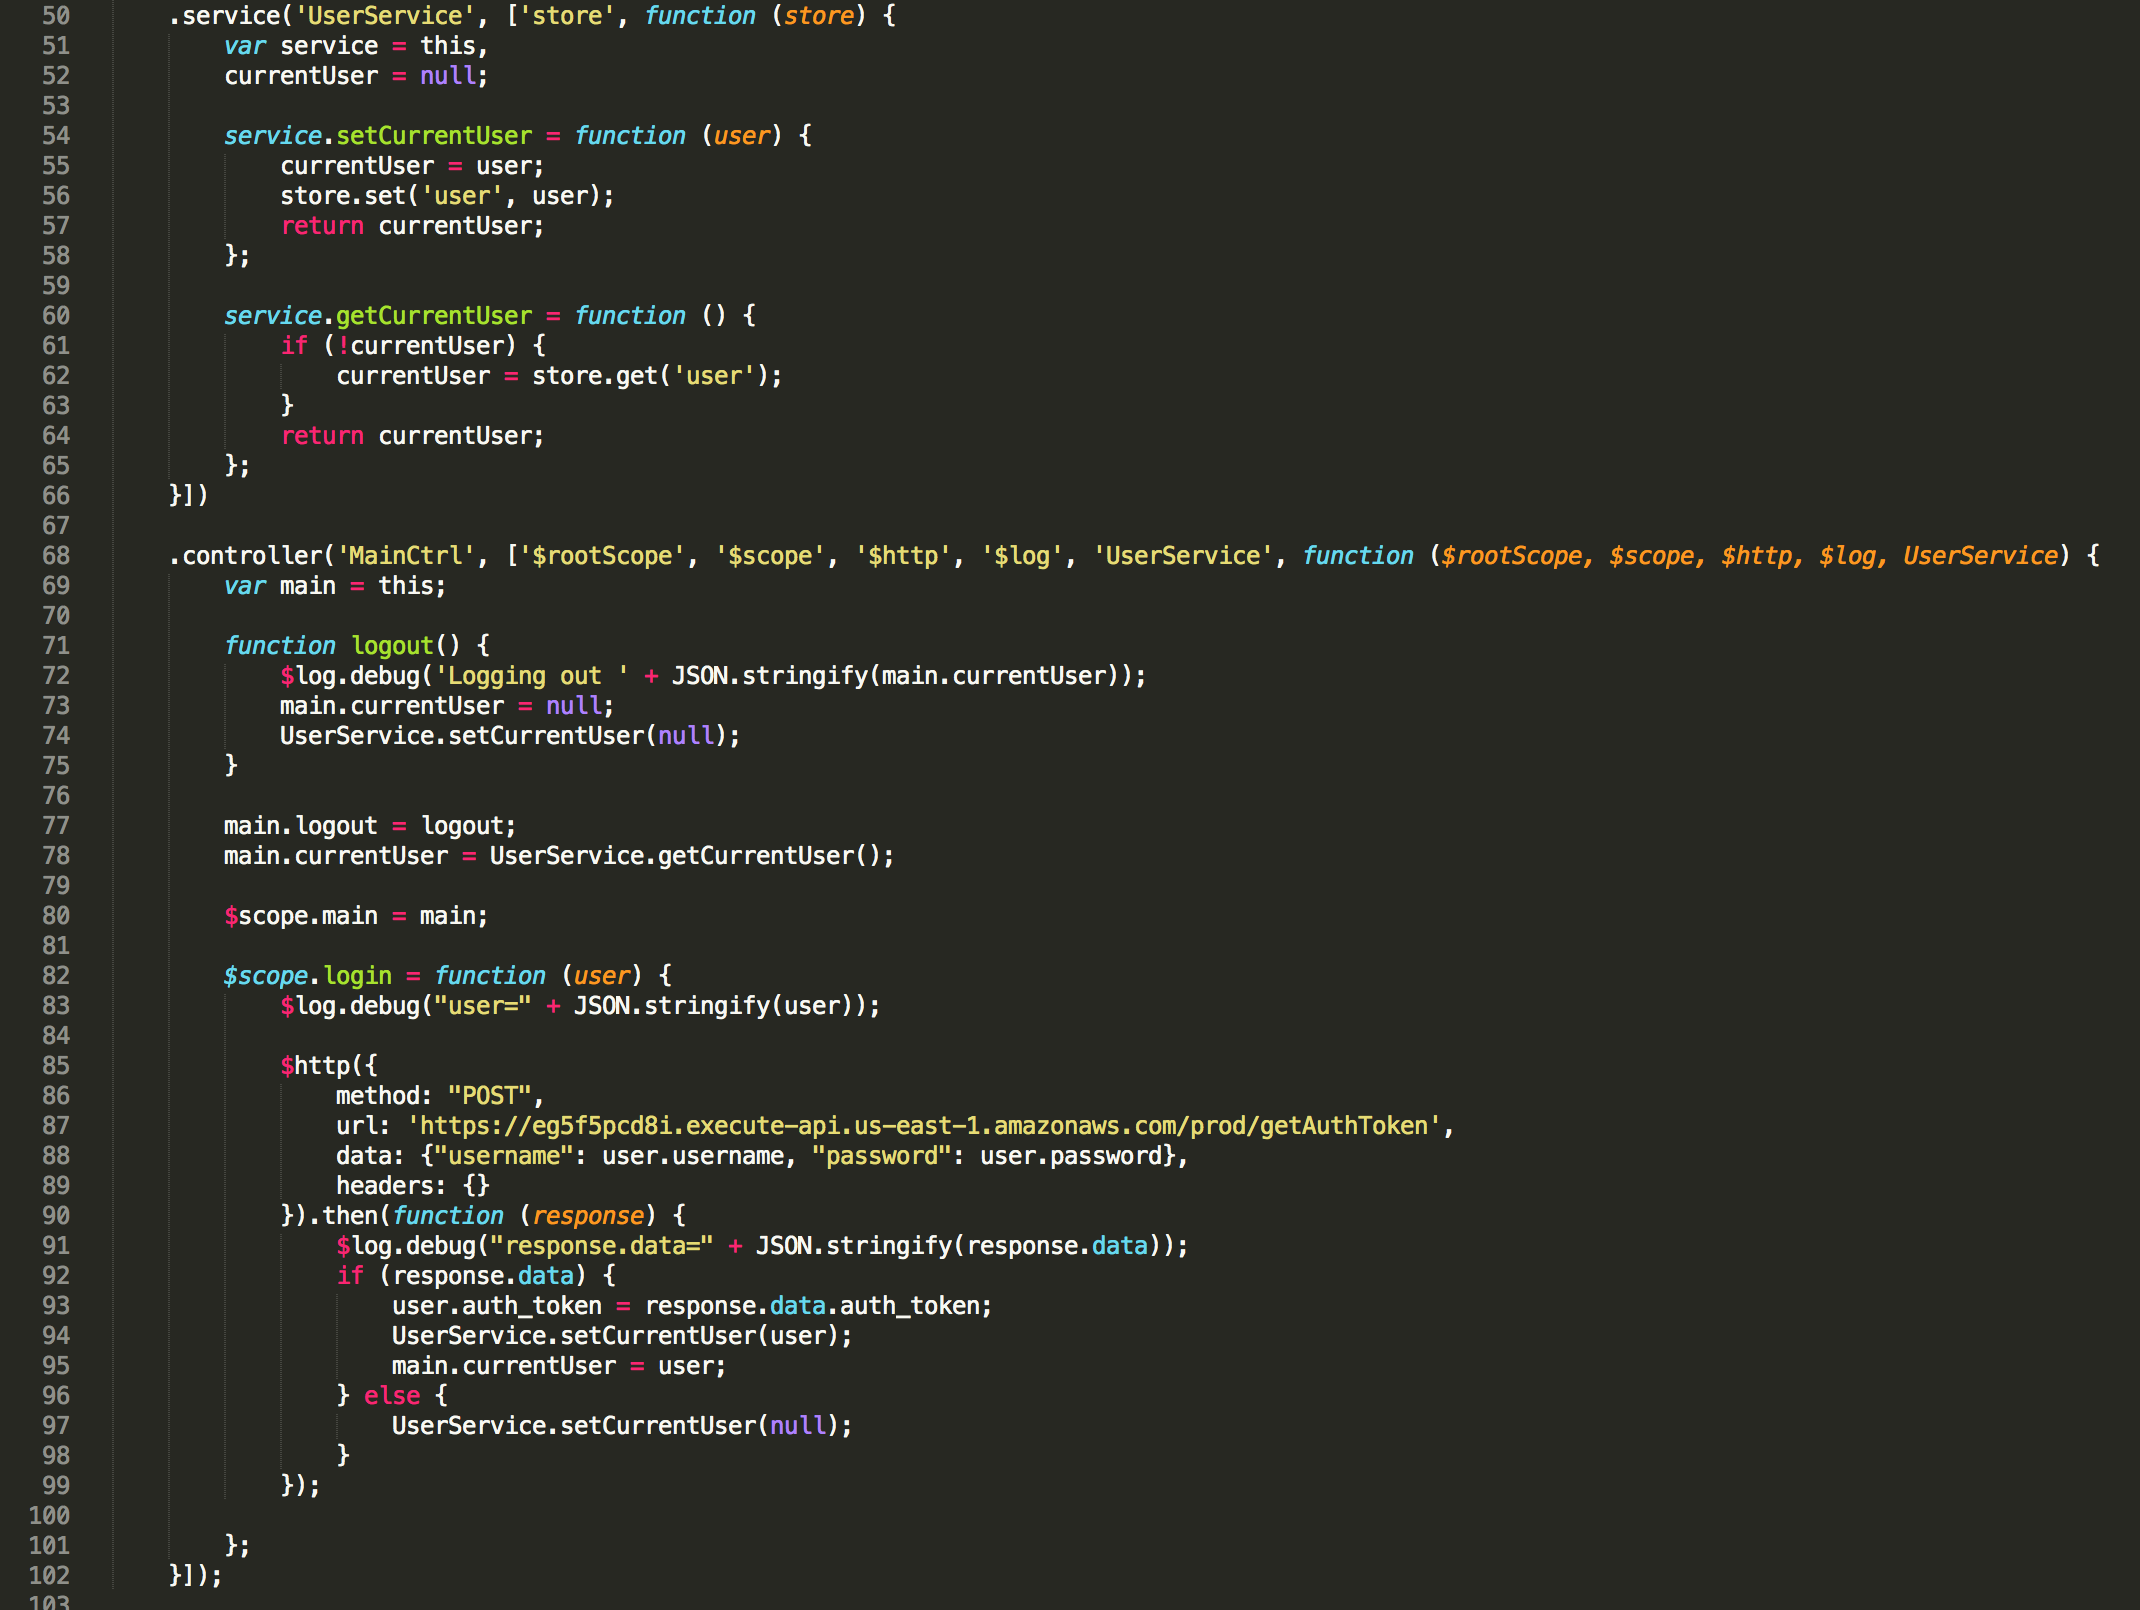 The login function posts the user credentials to the API Gateway that returns a JSON Web Token. The jwt is stored in the browser local storage using the ‘UserService’ that relies on the ‘store’ package from the ‘angular-store’ library. The logout function simply sets the current user in the local storage to ‘null’.
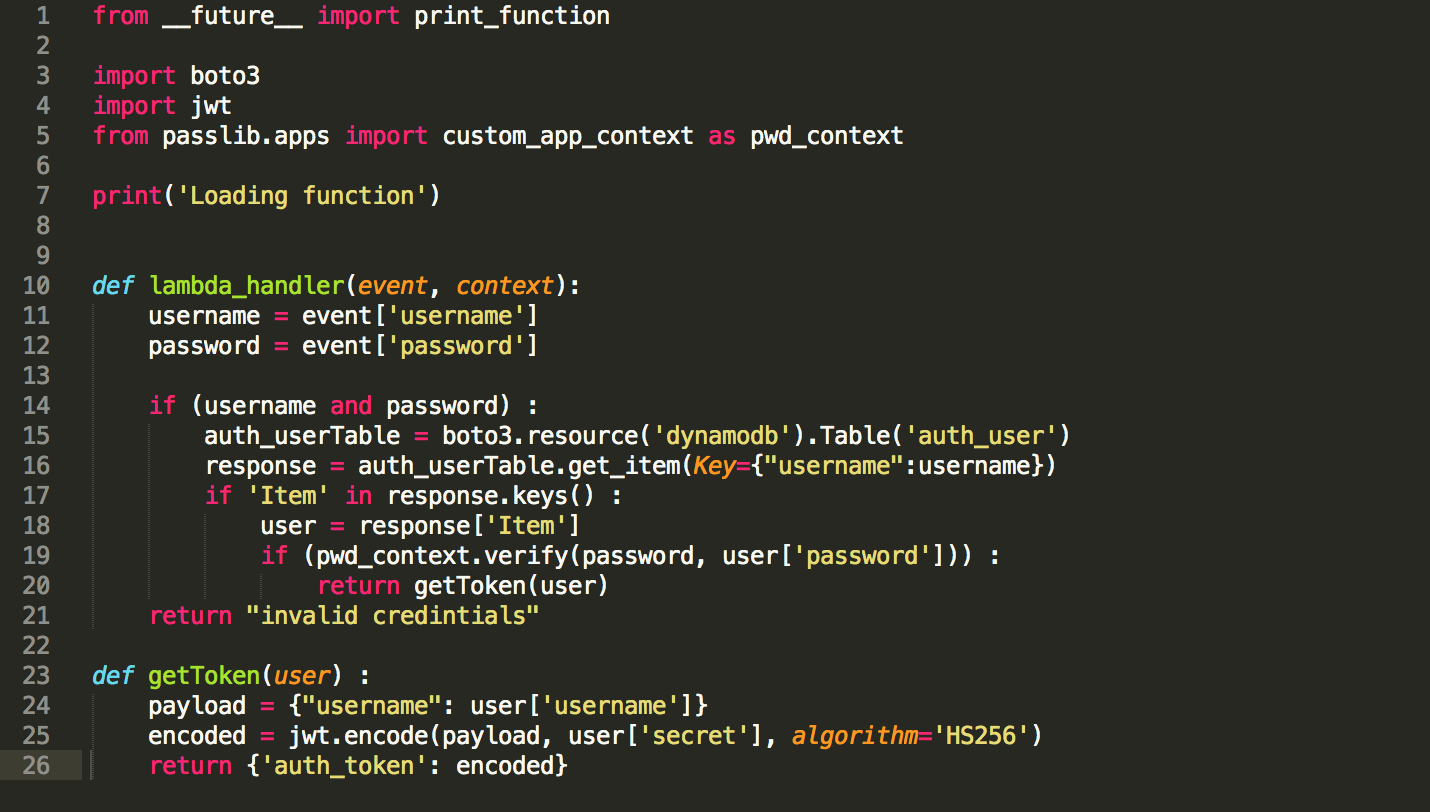 The Lambda function compares the incoming passowrd to the hashed passowrd by applying the same hash to the incoming password before comparing. If the password is a match for the given user name, a valid JSON Web Token is returned.
Post a Message
 The HTML displays the most recent 20 posts and a button with a modal form for posting a message.
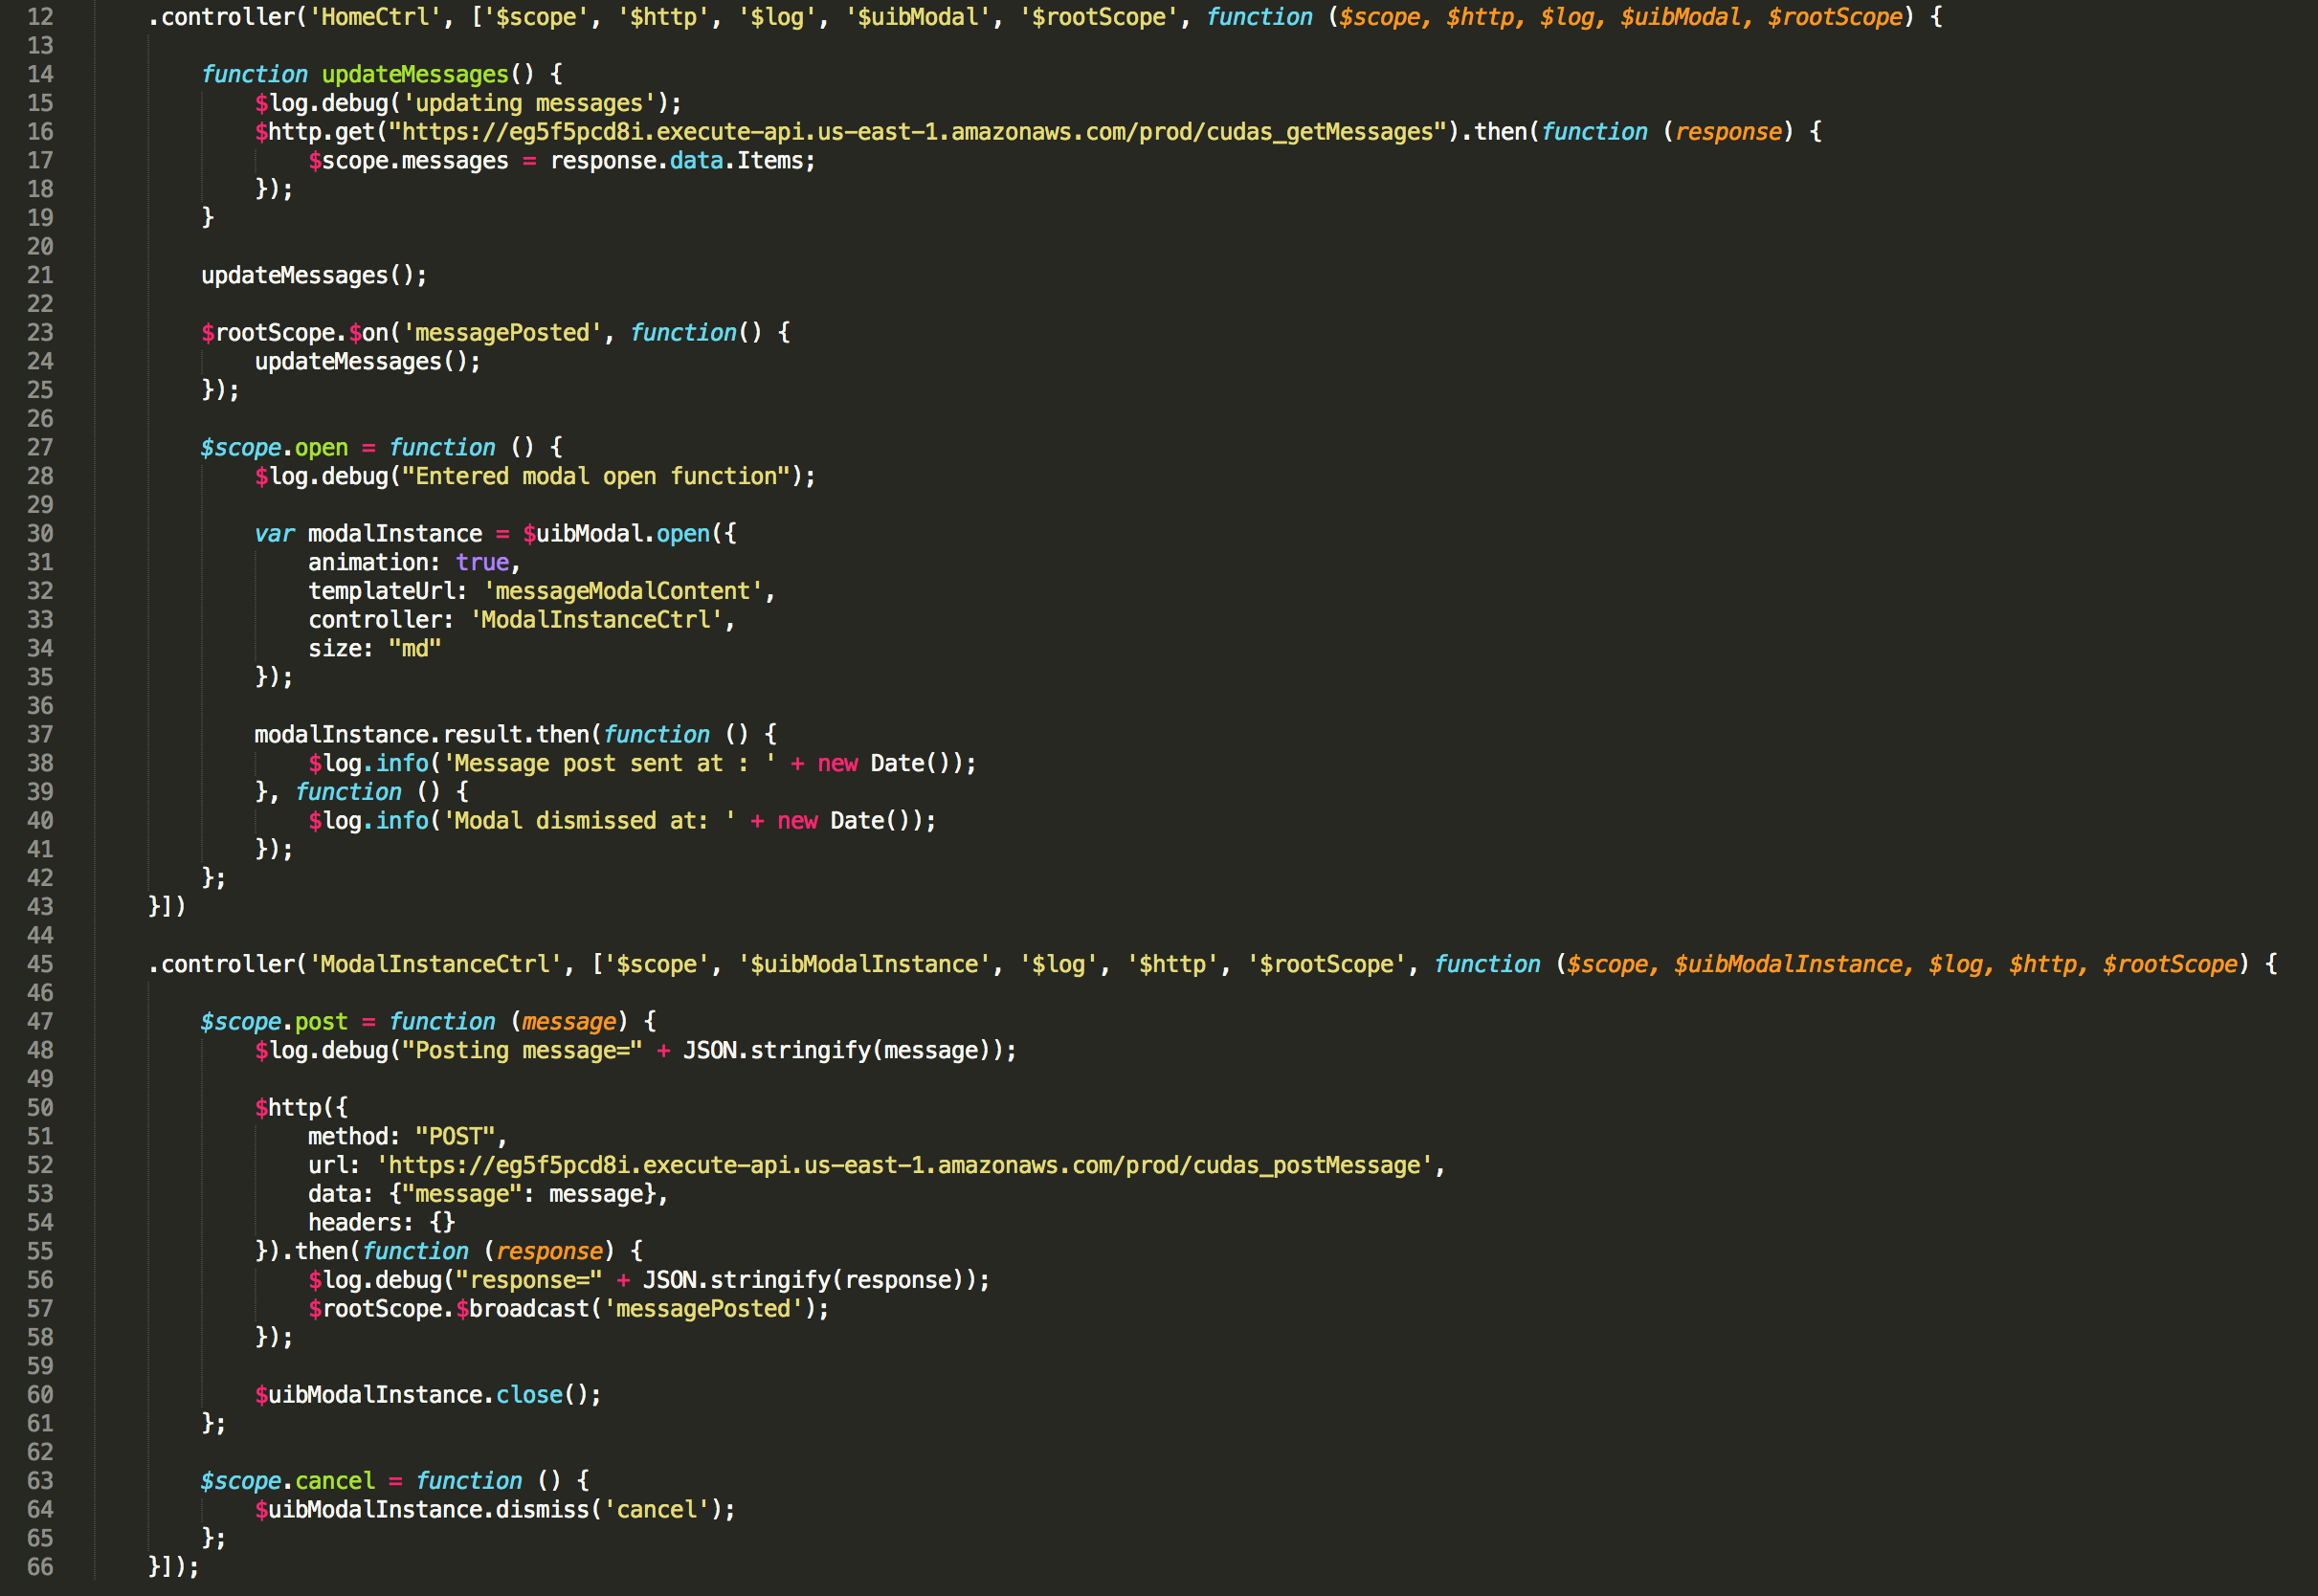 The controller gets the message from the API when the page opens and loads them into scope. It also opens and closes the modal form and posts the new messages to the API.
 The Lambda code is trivial and simply inserts the new record into the DynamoDB.
 There is an app-wide interceptor that can manipulate request before they are sent. In this case it will add the Authentication header to all requests if there is a logged in user.
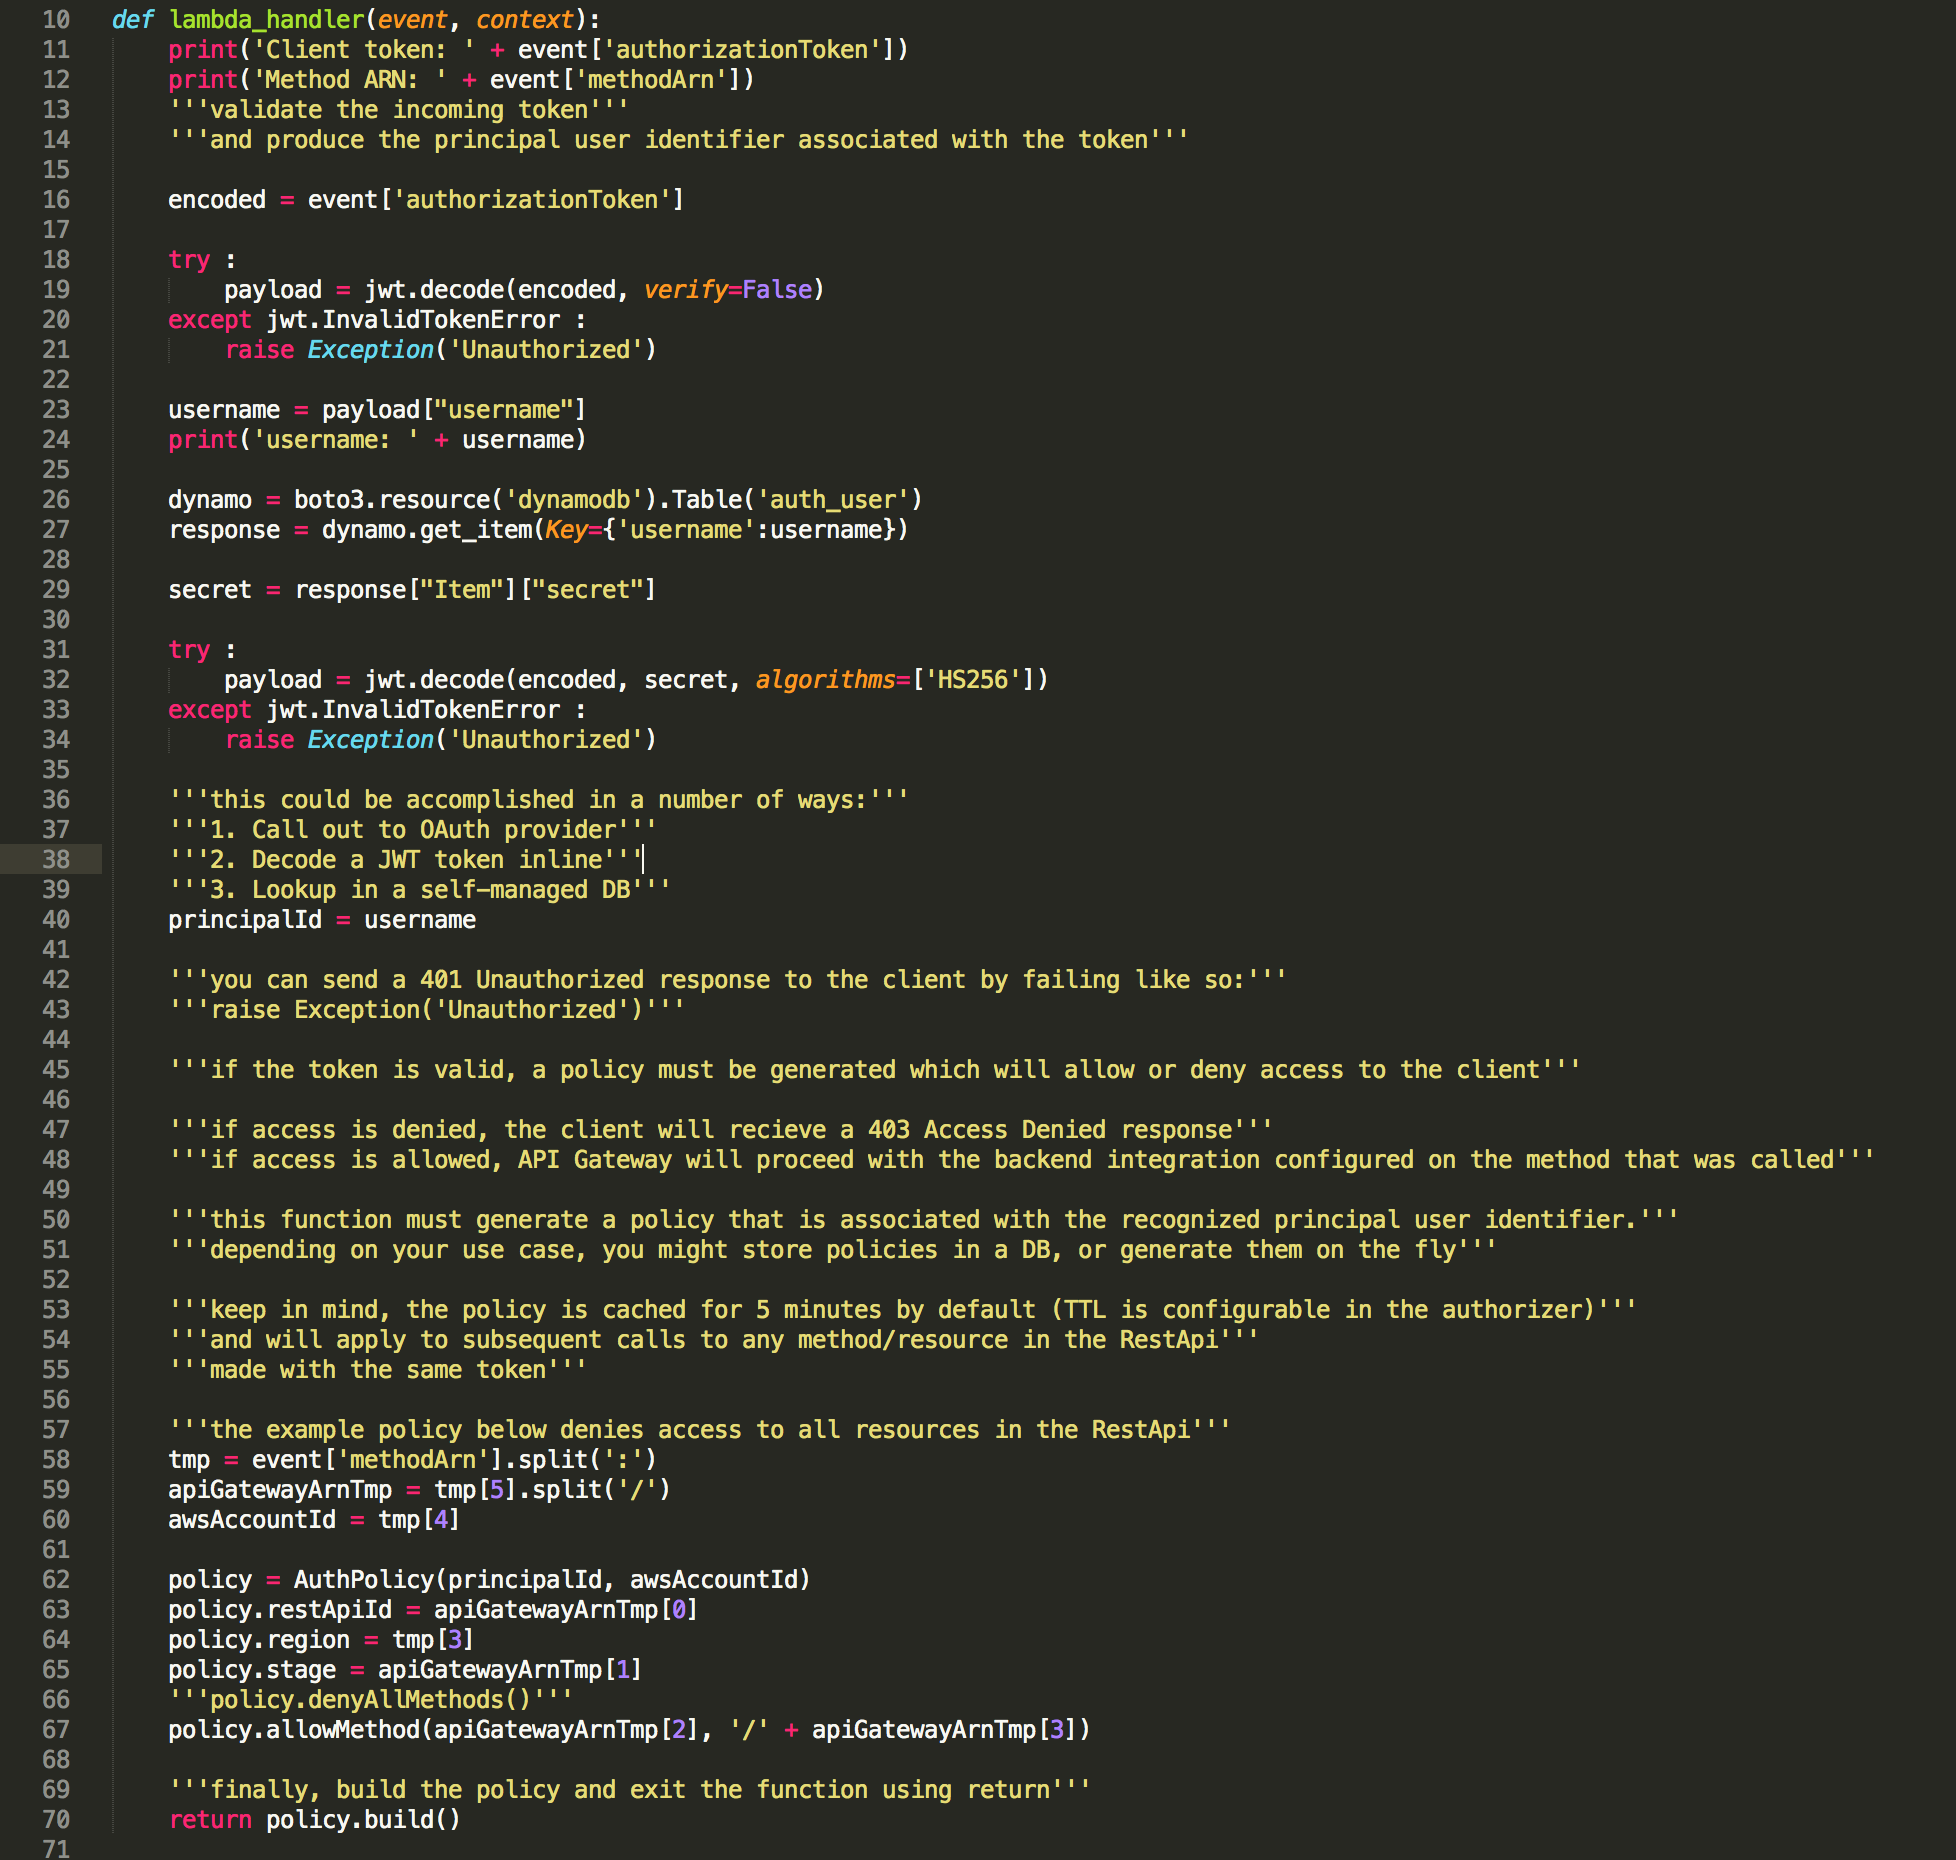 The message POST method has been configured to call the ‘authorizer’ Lambda function on each request before proceeding. The returned object is a valid IAM Policy that the API Gateway uses to determine if it should return a ‘401 Not Authorized’ or run the linked Lambda function. The function itself takes the JSON Web Token to validate the user. If everything checks out, the function returns an IAM Policy giving permission to POST to the given route.
